Step-by-Step Guide to Make a 360 Tour Private
Making your 360 Tour private ensures that only you, the creator, can view it. Follow the steps below to make a tour private:-
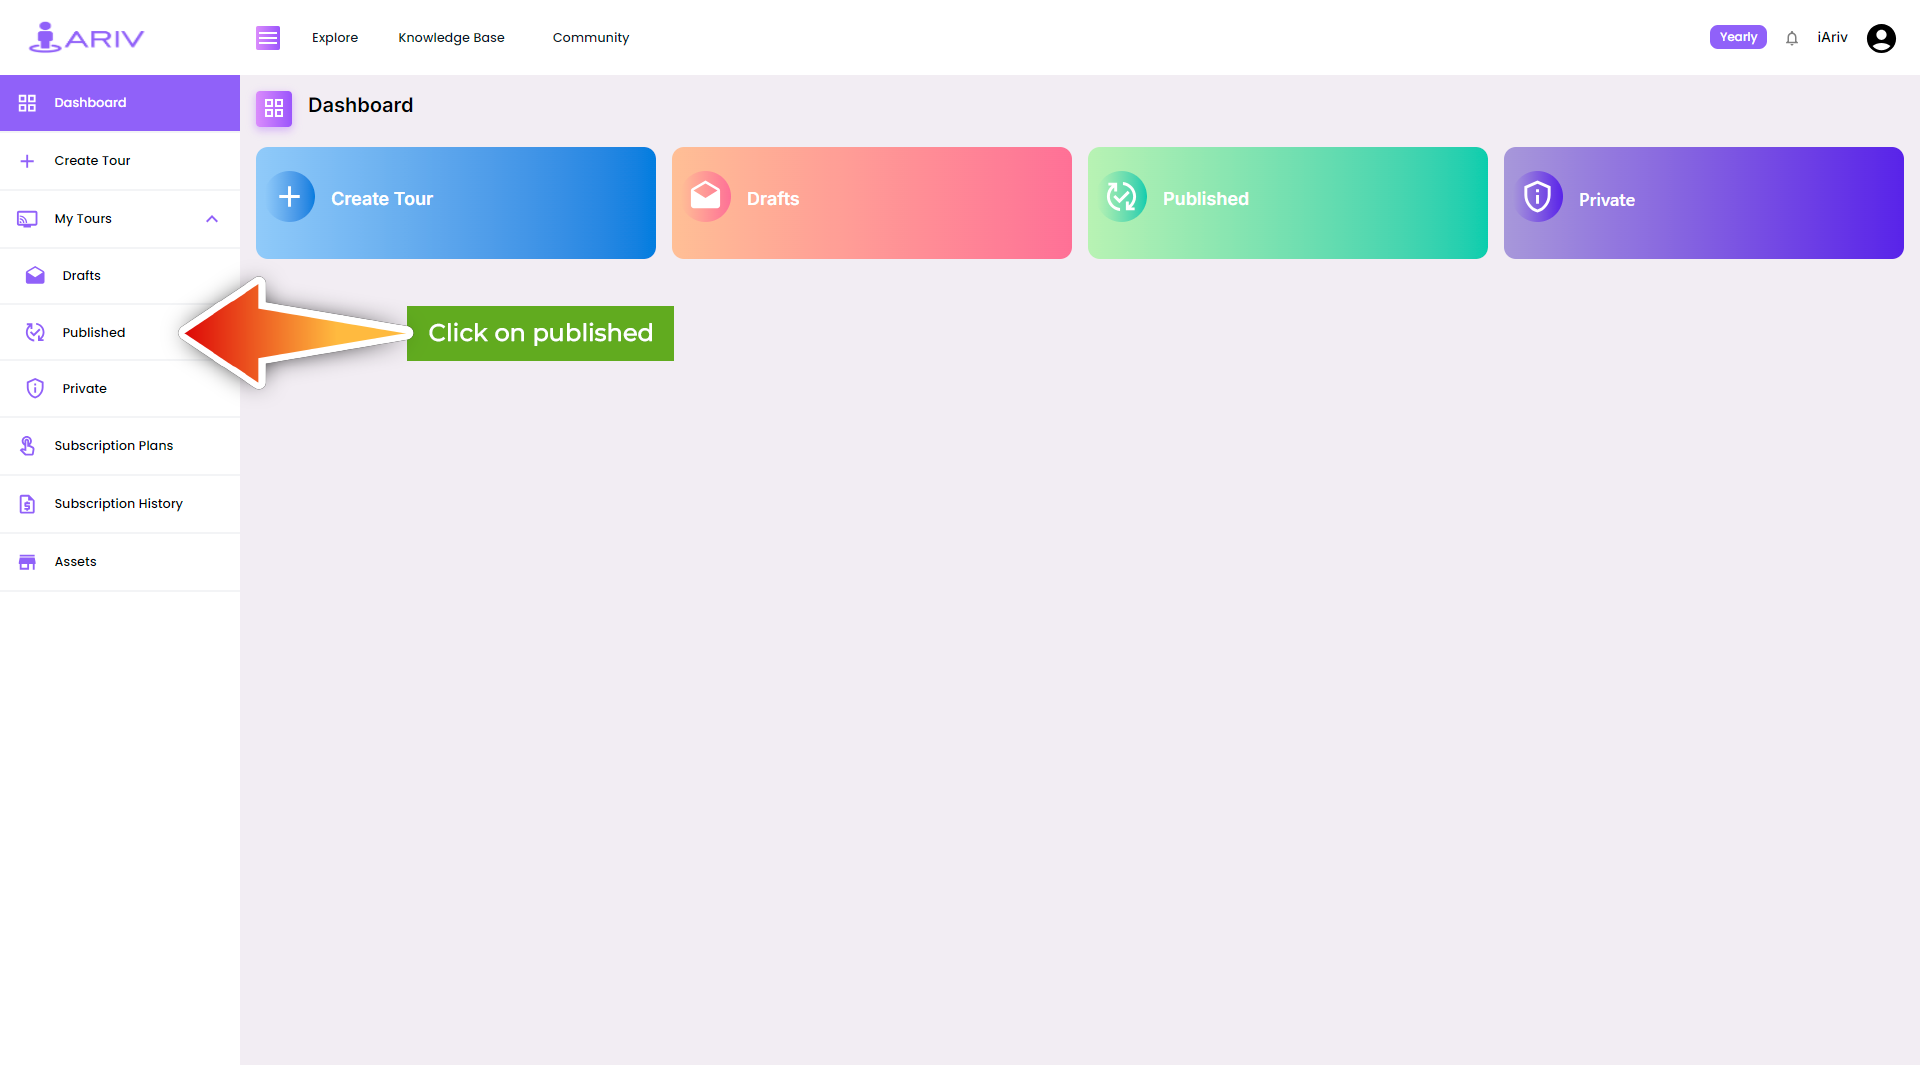
Step 1: Access Your Published Tours
- Action: Log in to your account, How to Login into your iariv account? Open Dashboard, and navigate to the left menu.
- Instructions: Click on “Published Tours” under the “My Tours” section.
- Outcome: This will display all your Published 360 Tours.
Step 2: Select the Tour to Make Private
- Action: Identify the tour you wish to make private.
- Instructions: Locate the specific tour image you want to change.
Step 3: Open the Dropdown Menu
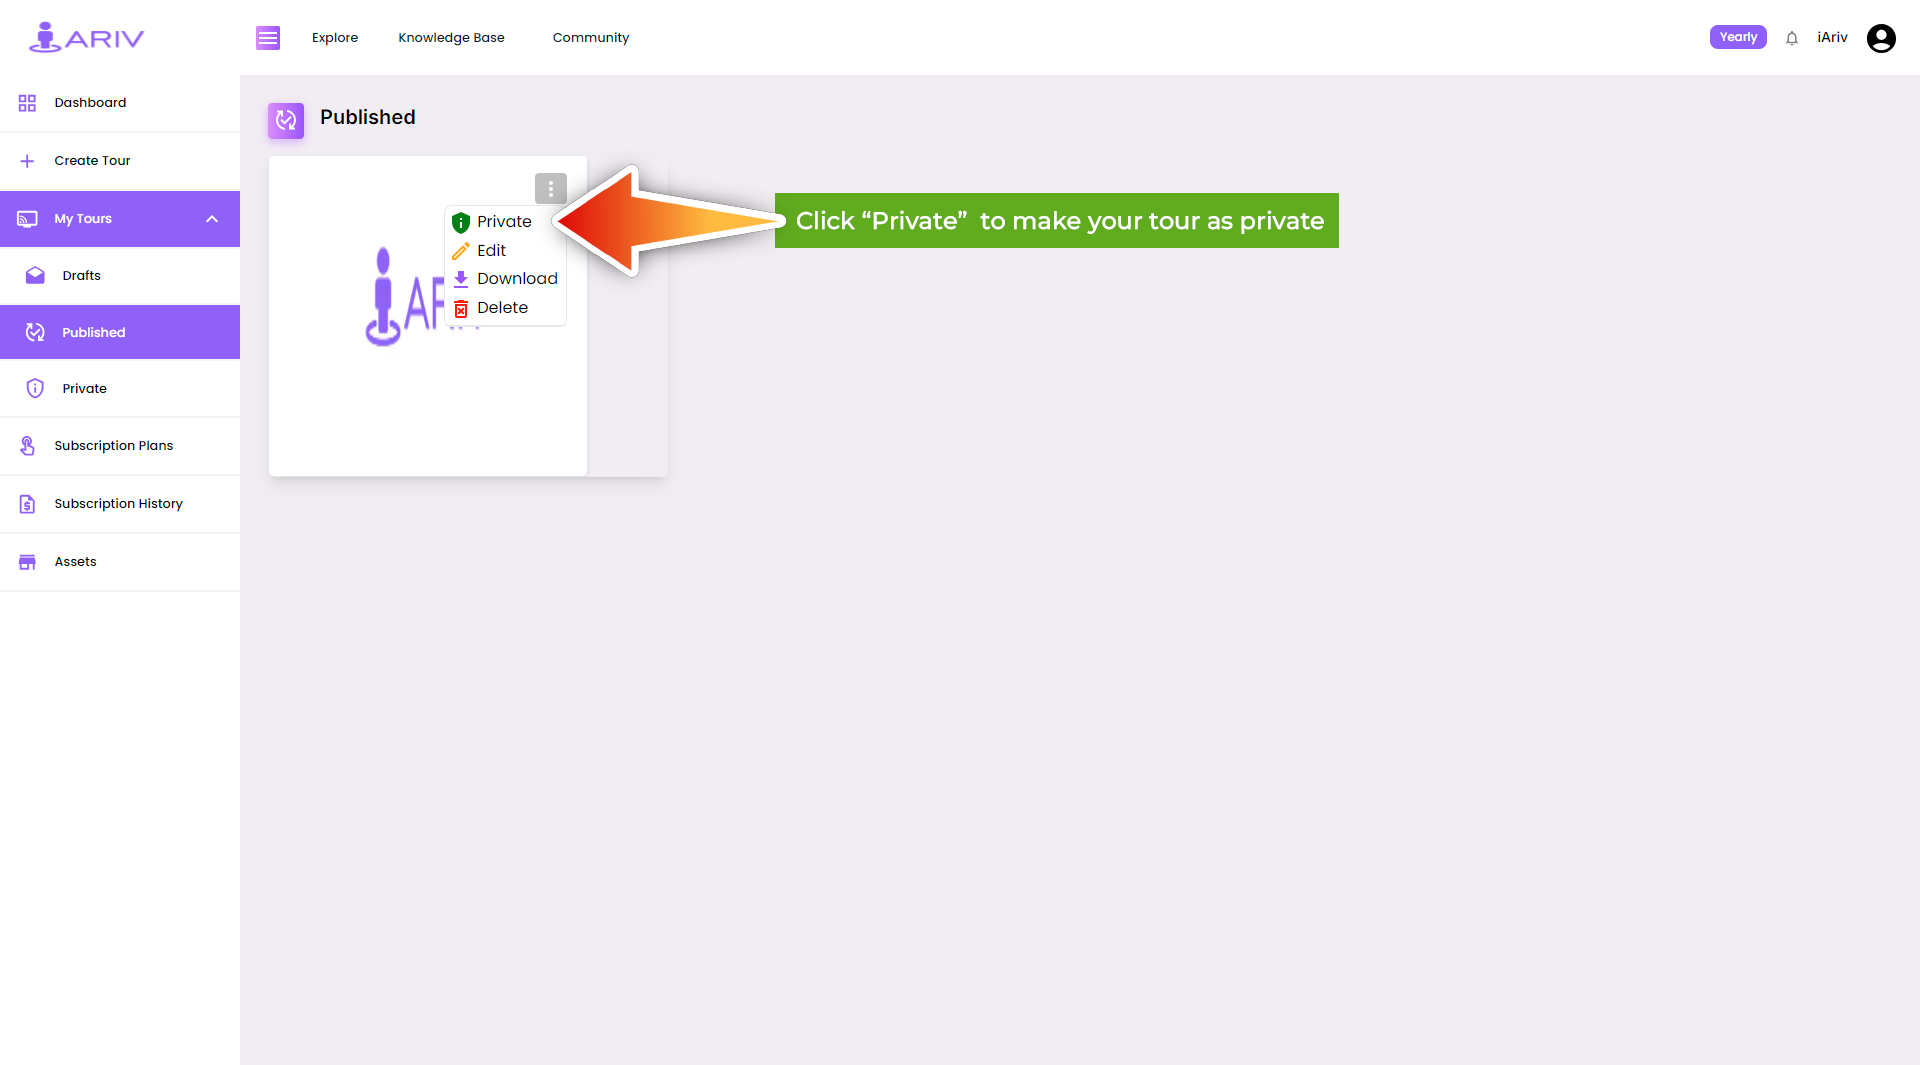
- Action: Click on the three dots (more options icon) on the top right side of the tour image.
- Instructions: This action will open a dropdown menu with various options.
Step 4: Choose the Private Option
- Action: In the dropdown menu, click on the “Private” option.
- Outcome: This will change the status of your 360 Tour to private.
Step 5: Confirm the Tour is Private
- Action: Verify that your tour has been moved to the private section.
- Instructions: Go back to the “My Tours” section and check under the “Private” category.
- Outcome: Your tour should now be listed under Private 360 Tours.

Summary of Private Tour Access
- Visibility: Private 360 Tours can only be viewed by you, the creator.
- Sharing: Private tours cannot be shared with the public audience.
By following these steps, you can ensure that your 360 Tour remains private and secure, accessible only by you. If you have any questions or encounter issues, please contact our support team for assistance.