Personalizing your virtual tour with a customized avatar can greatly enhance the user experience, adding a unique and interactive element to your presentation. Follow this step-by-step guide to create and customize an avatar for your virtual tour using iAriv’s Avatar Studio.
Step-by-Step Guide to Creating Your Customized Avatar
Step 1: Access the Asset Section
- Log In to iAriv: Open your web browser and log in to your iAriv account. How to Login into your iariv account?
- Navigate to Assets: On your dashboard, click on the Asset page and click on Avatar option to access the avatar section
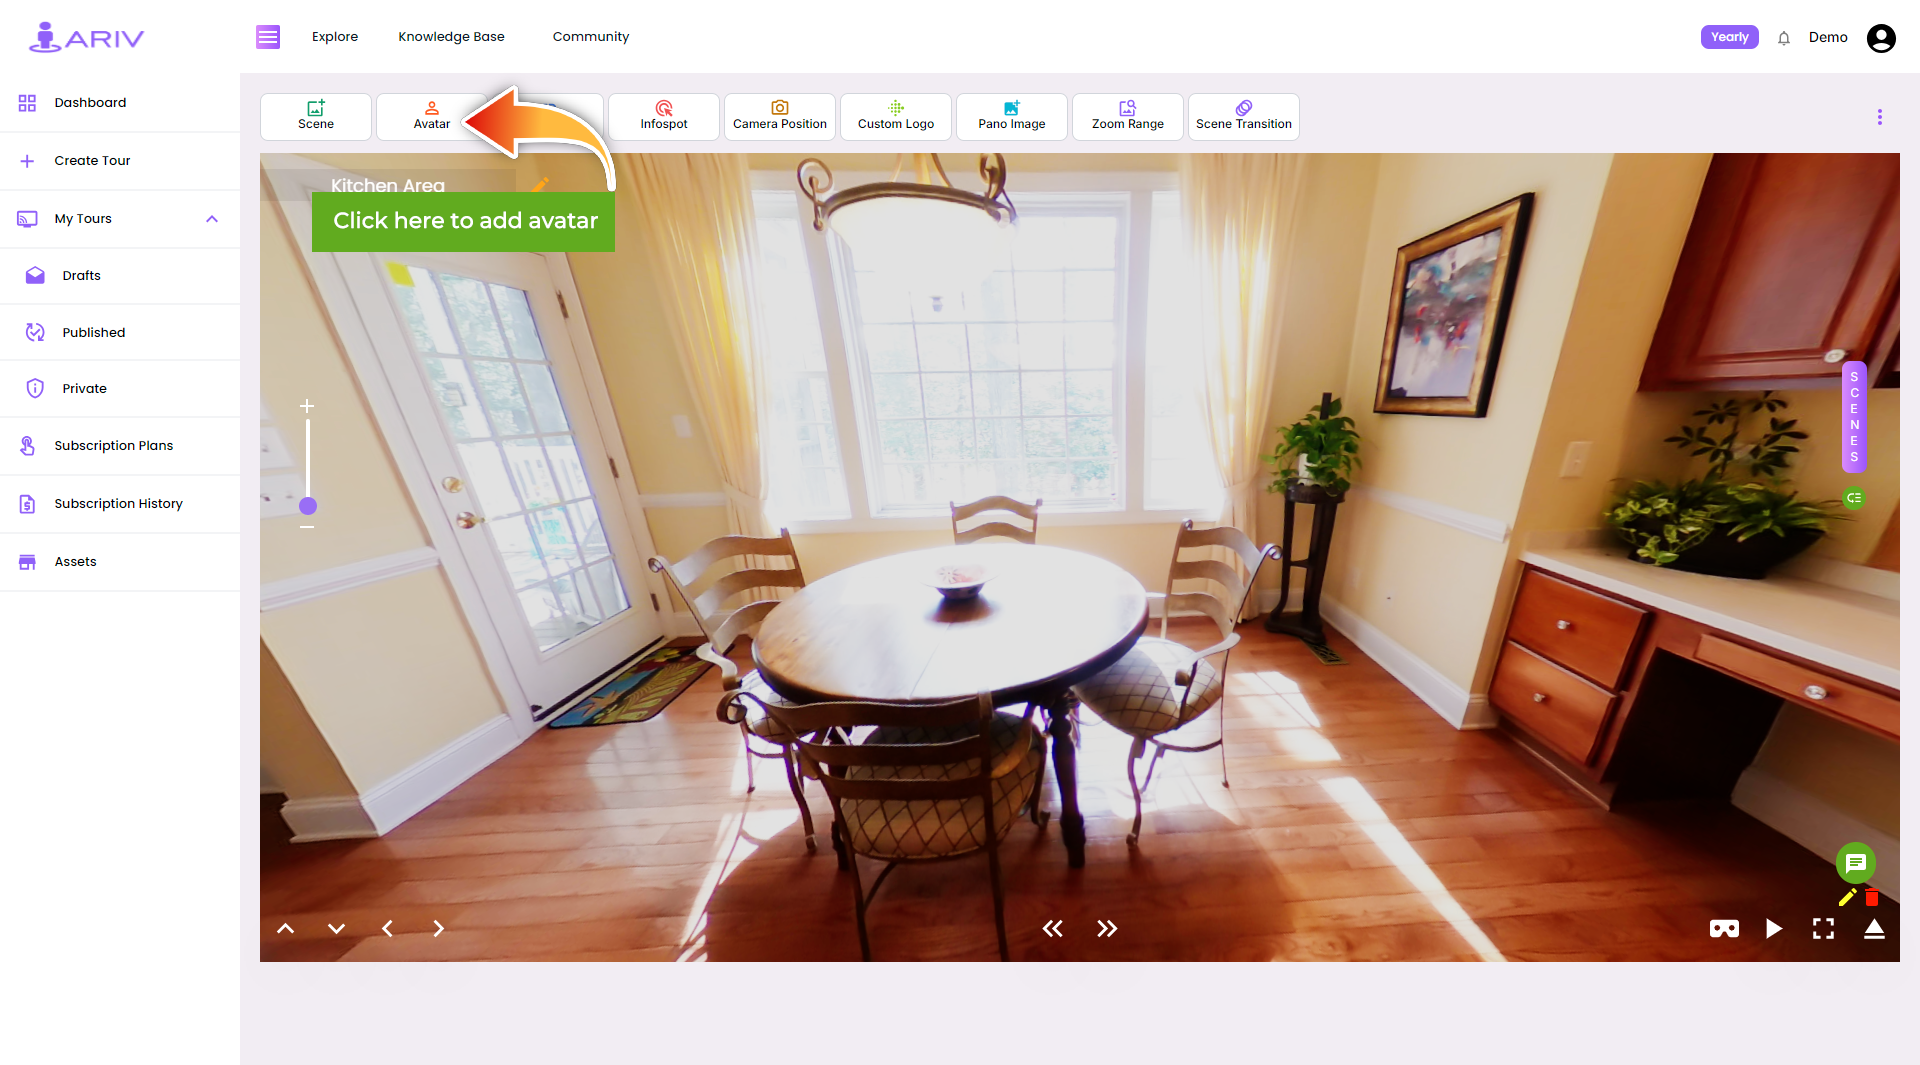
Or
You can also “Create your own Avatar” from the Tour editor Panel in the Avatar section.
Step 2: Begin Creating Your Avatar
- Create Your Own Avatar: Scroll and look for the option Create Your Own Avatar at the bottom left.
- Confirm Selection: A pop-up will appear; click OK to proceed.
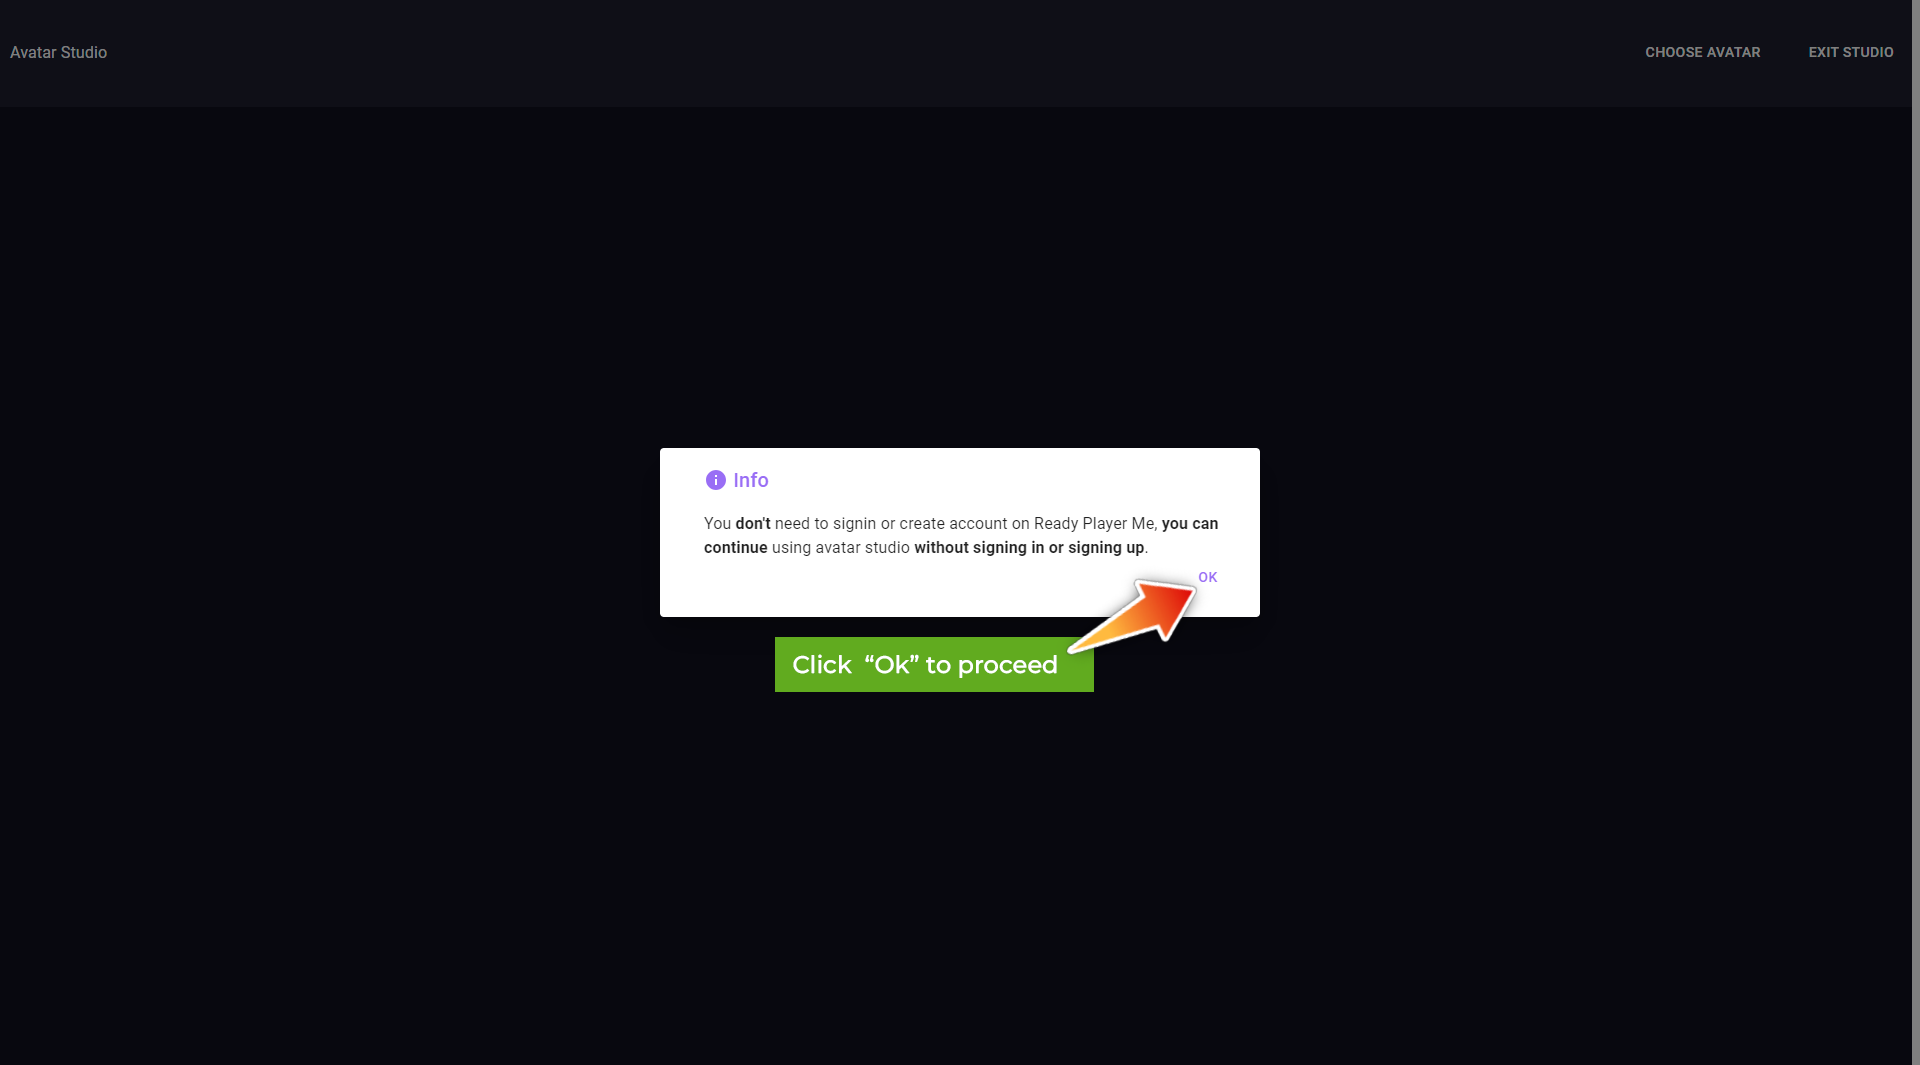
Step 3: Use Avatar Studio
- Open Avatar Studio: A new window called Avatar Studio will open.
- Start Creation: Click on Create a New Avatar to begin the customization process.
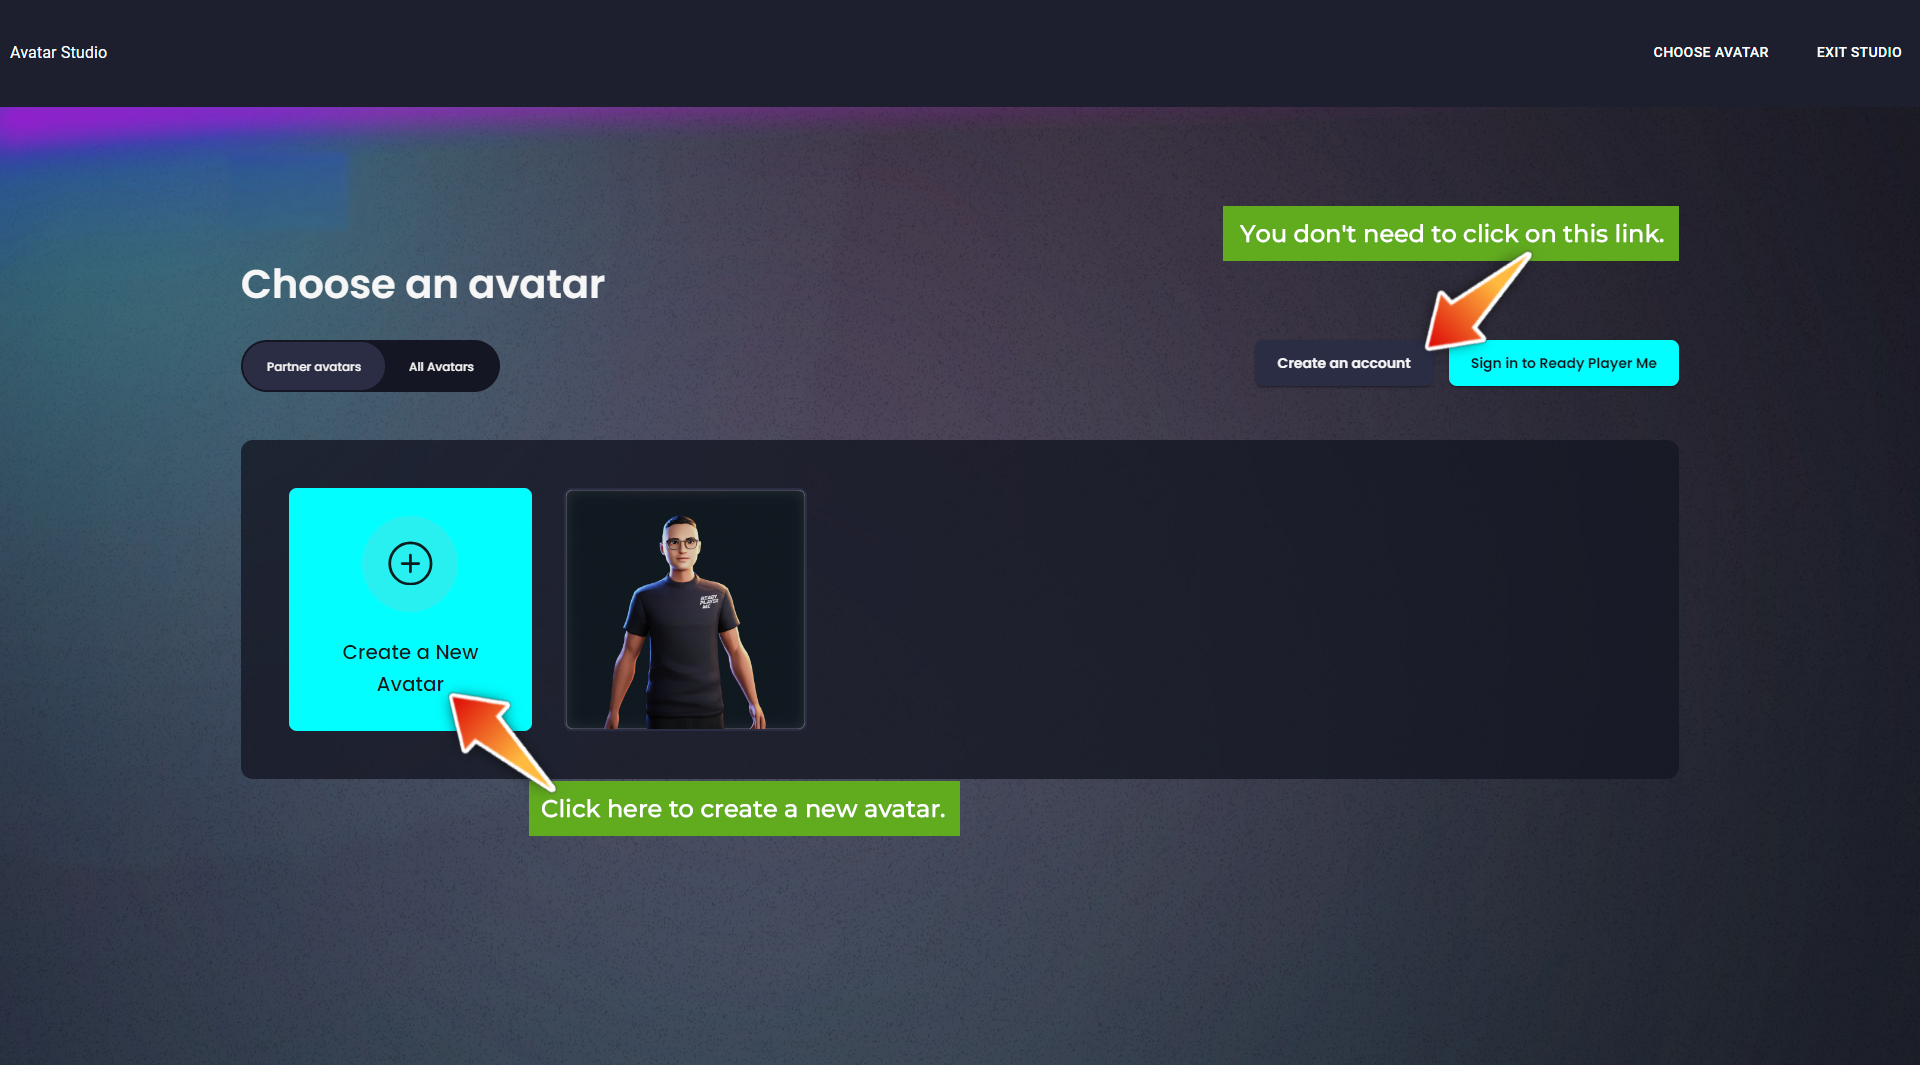
Step 4: Customize Your Avatar
- Customize Features: Use the available tools and options to customize your avatar’s appearance. Choose from a variety of features such as hairstyles, outfits, facial features, and accessories to create an avatar that represents your brand or desired image.
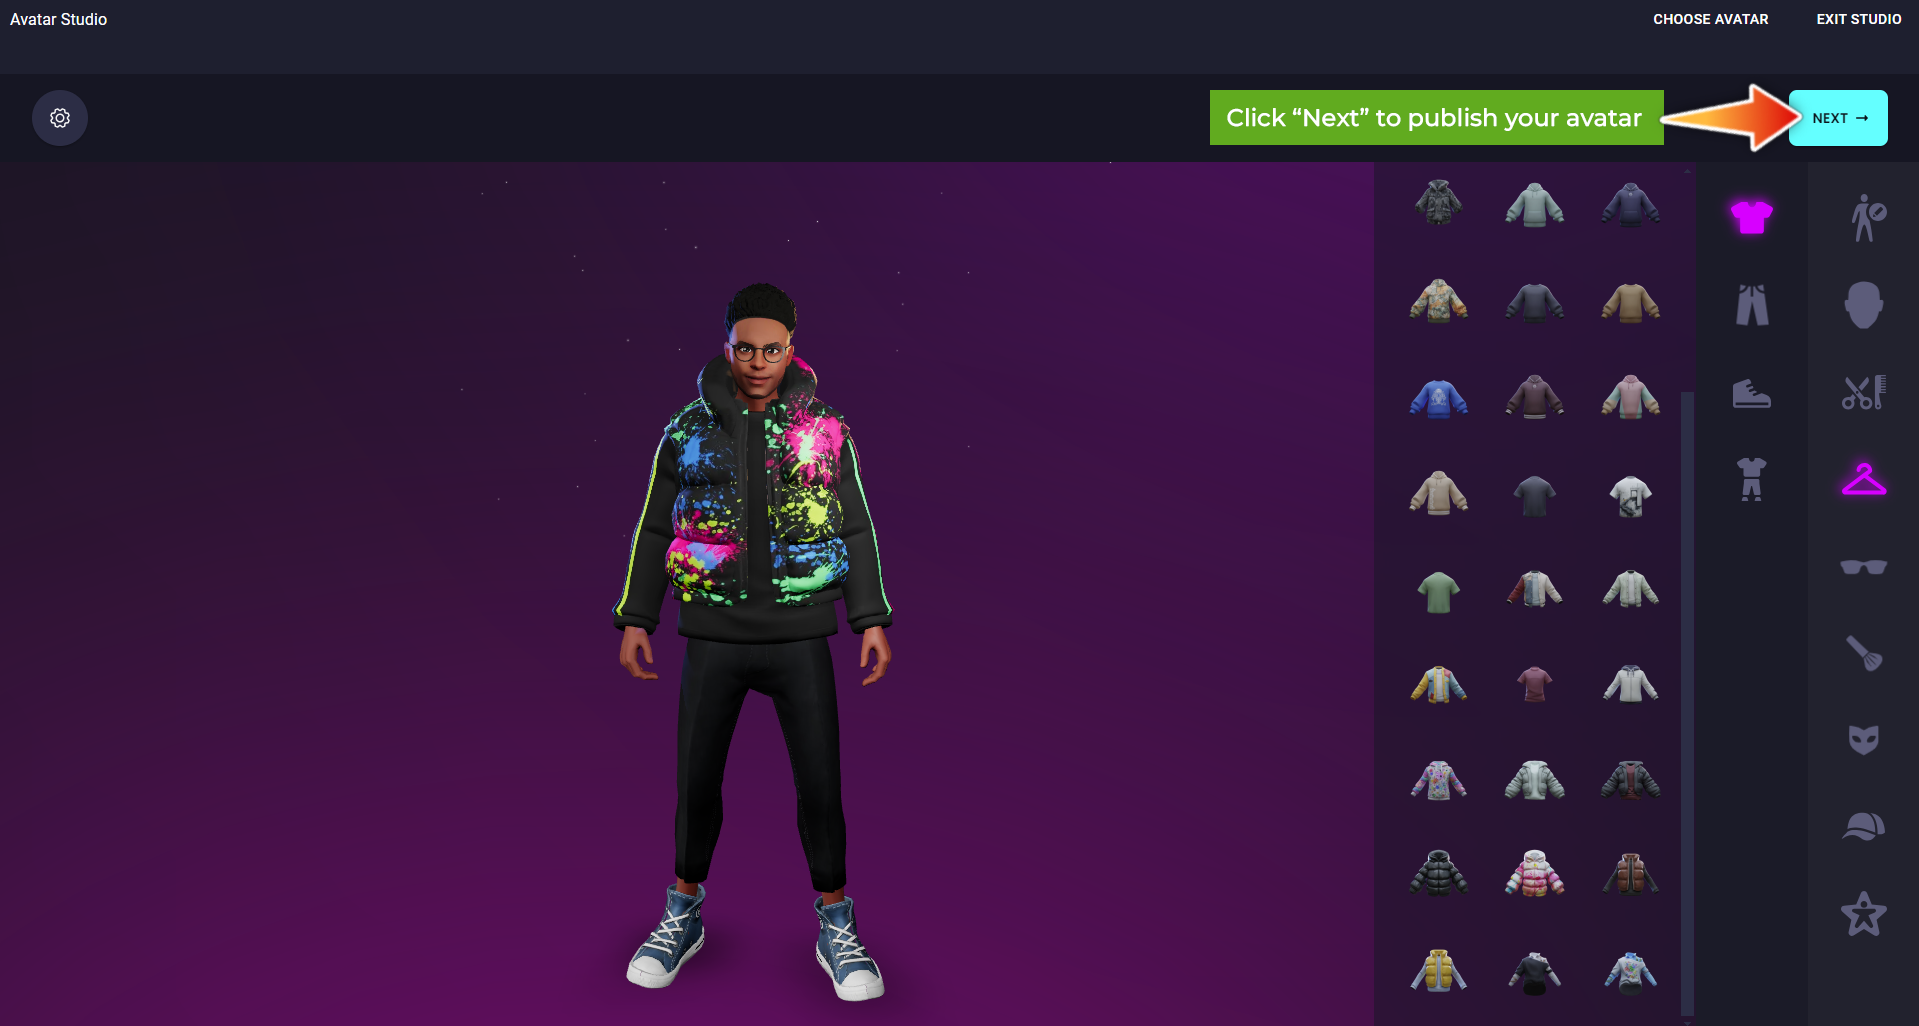
Step 5: Finalize Your Avatar
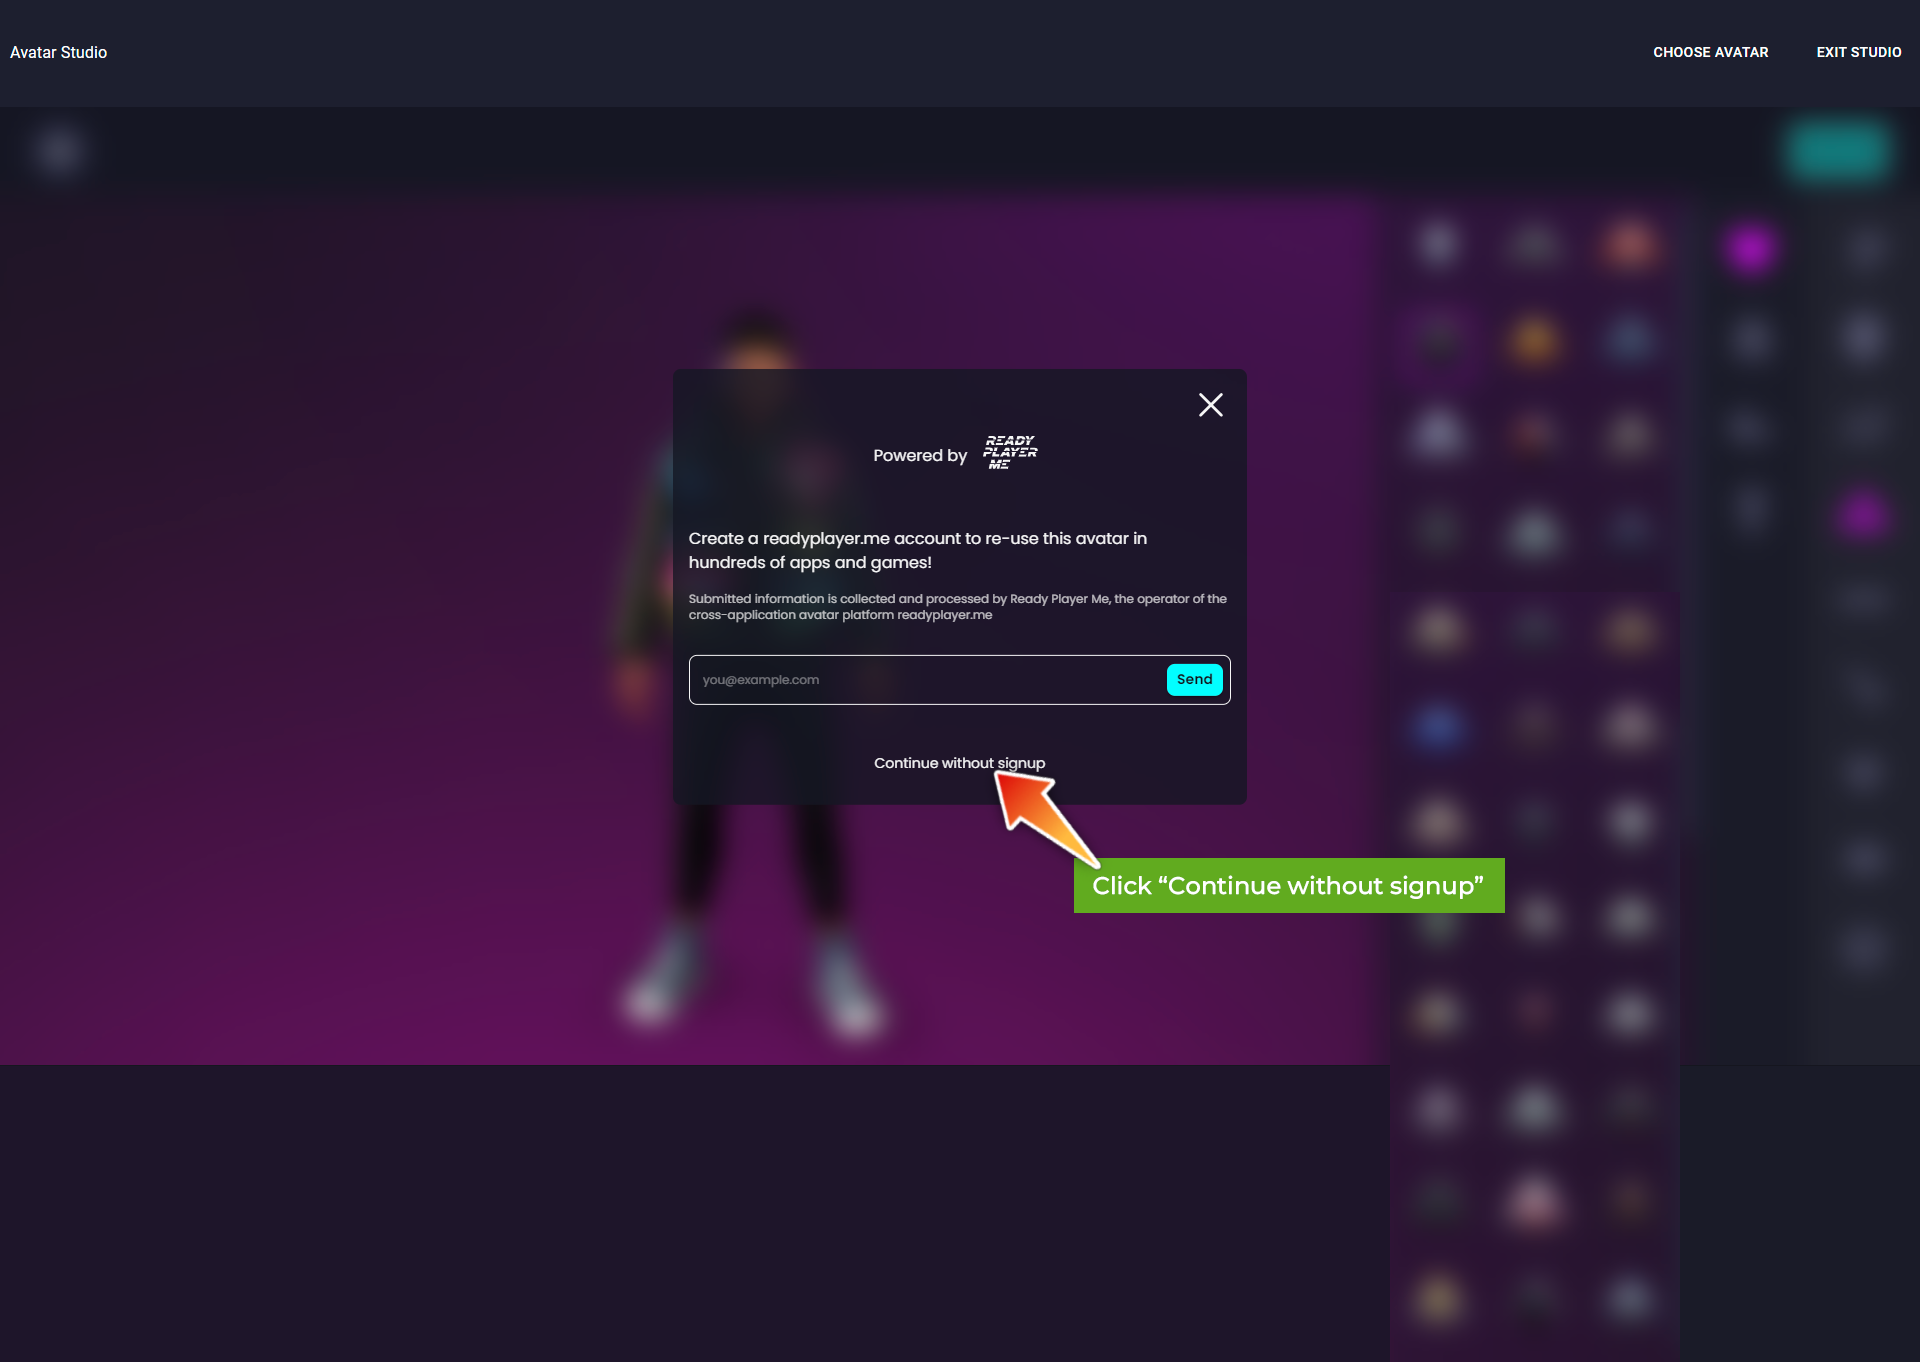
- Proceed to Next: Once satisfied with your customization, click Next.
- Skip Sign-Up: When a pop-up appears, click Continue Without Signup to finalize the process.
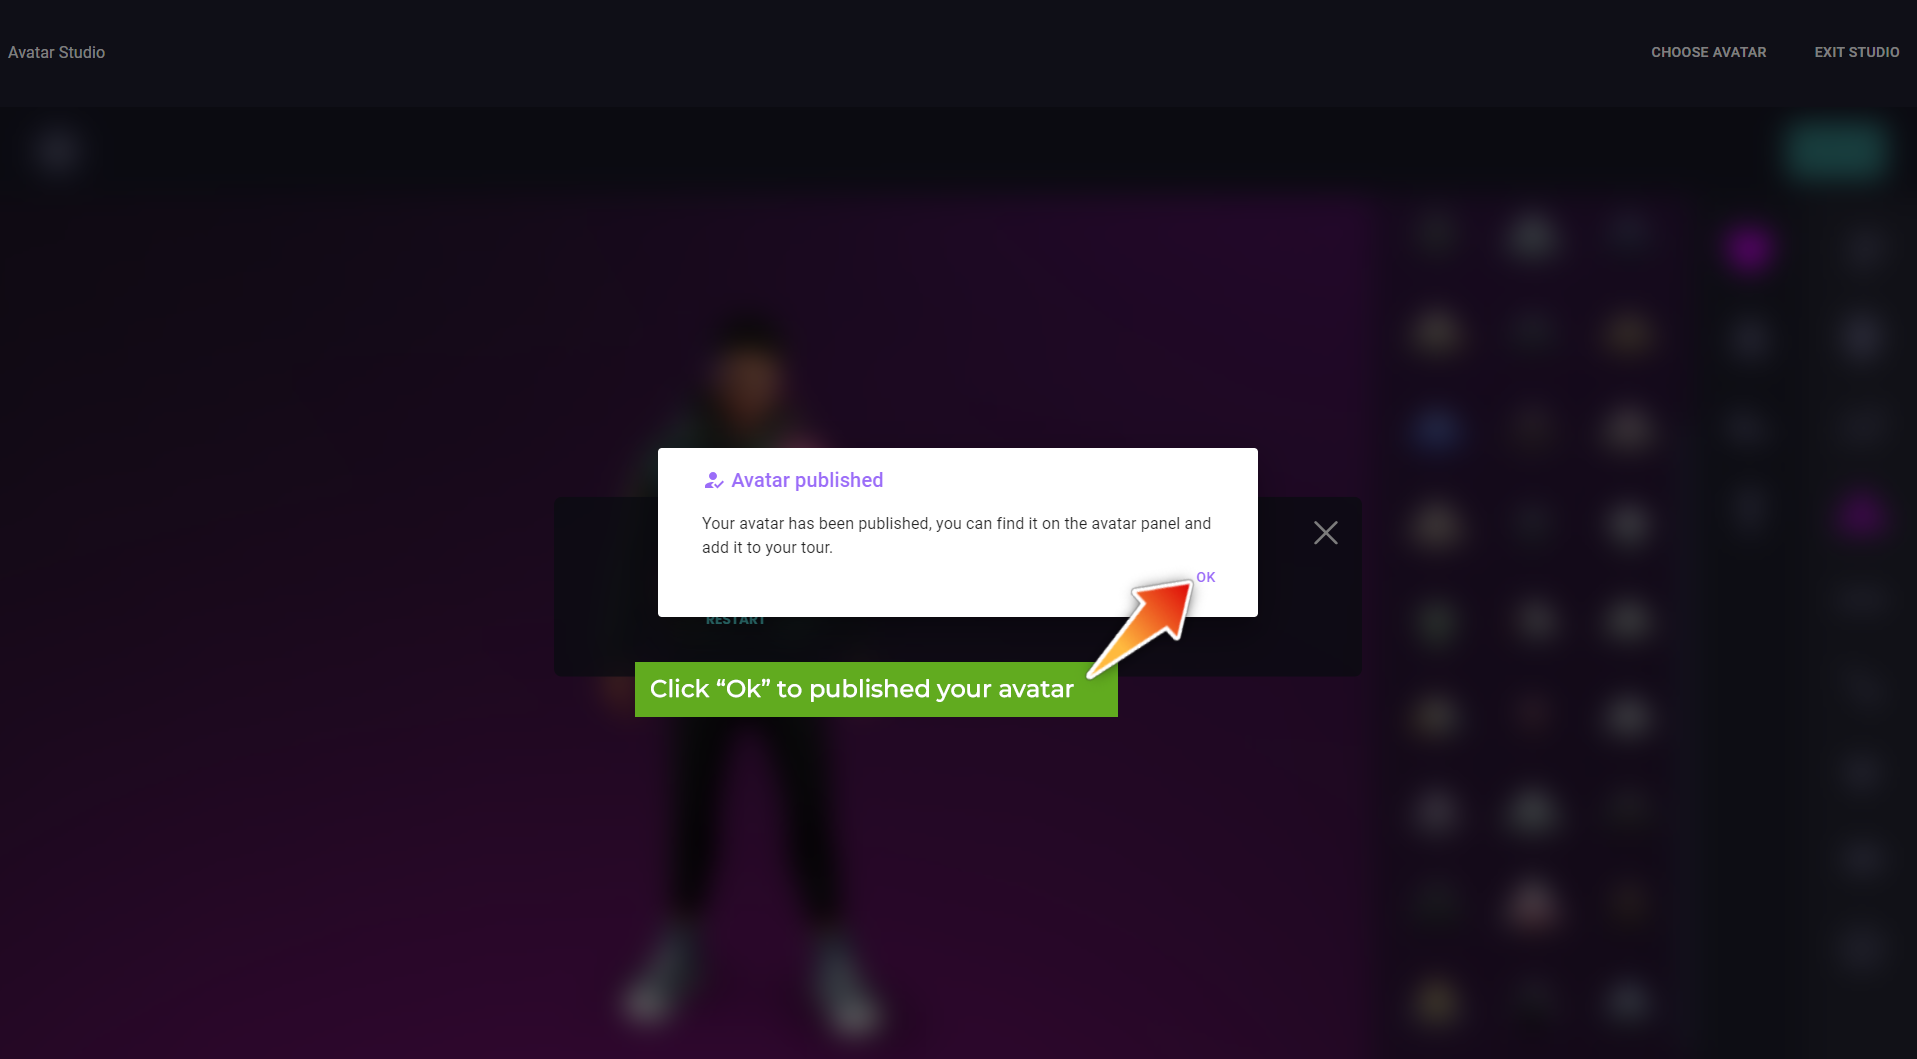
Step 6: Publish Your Avatar
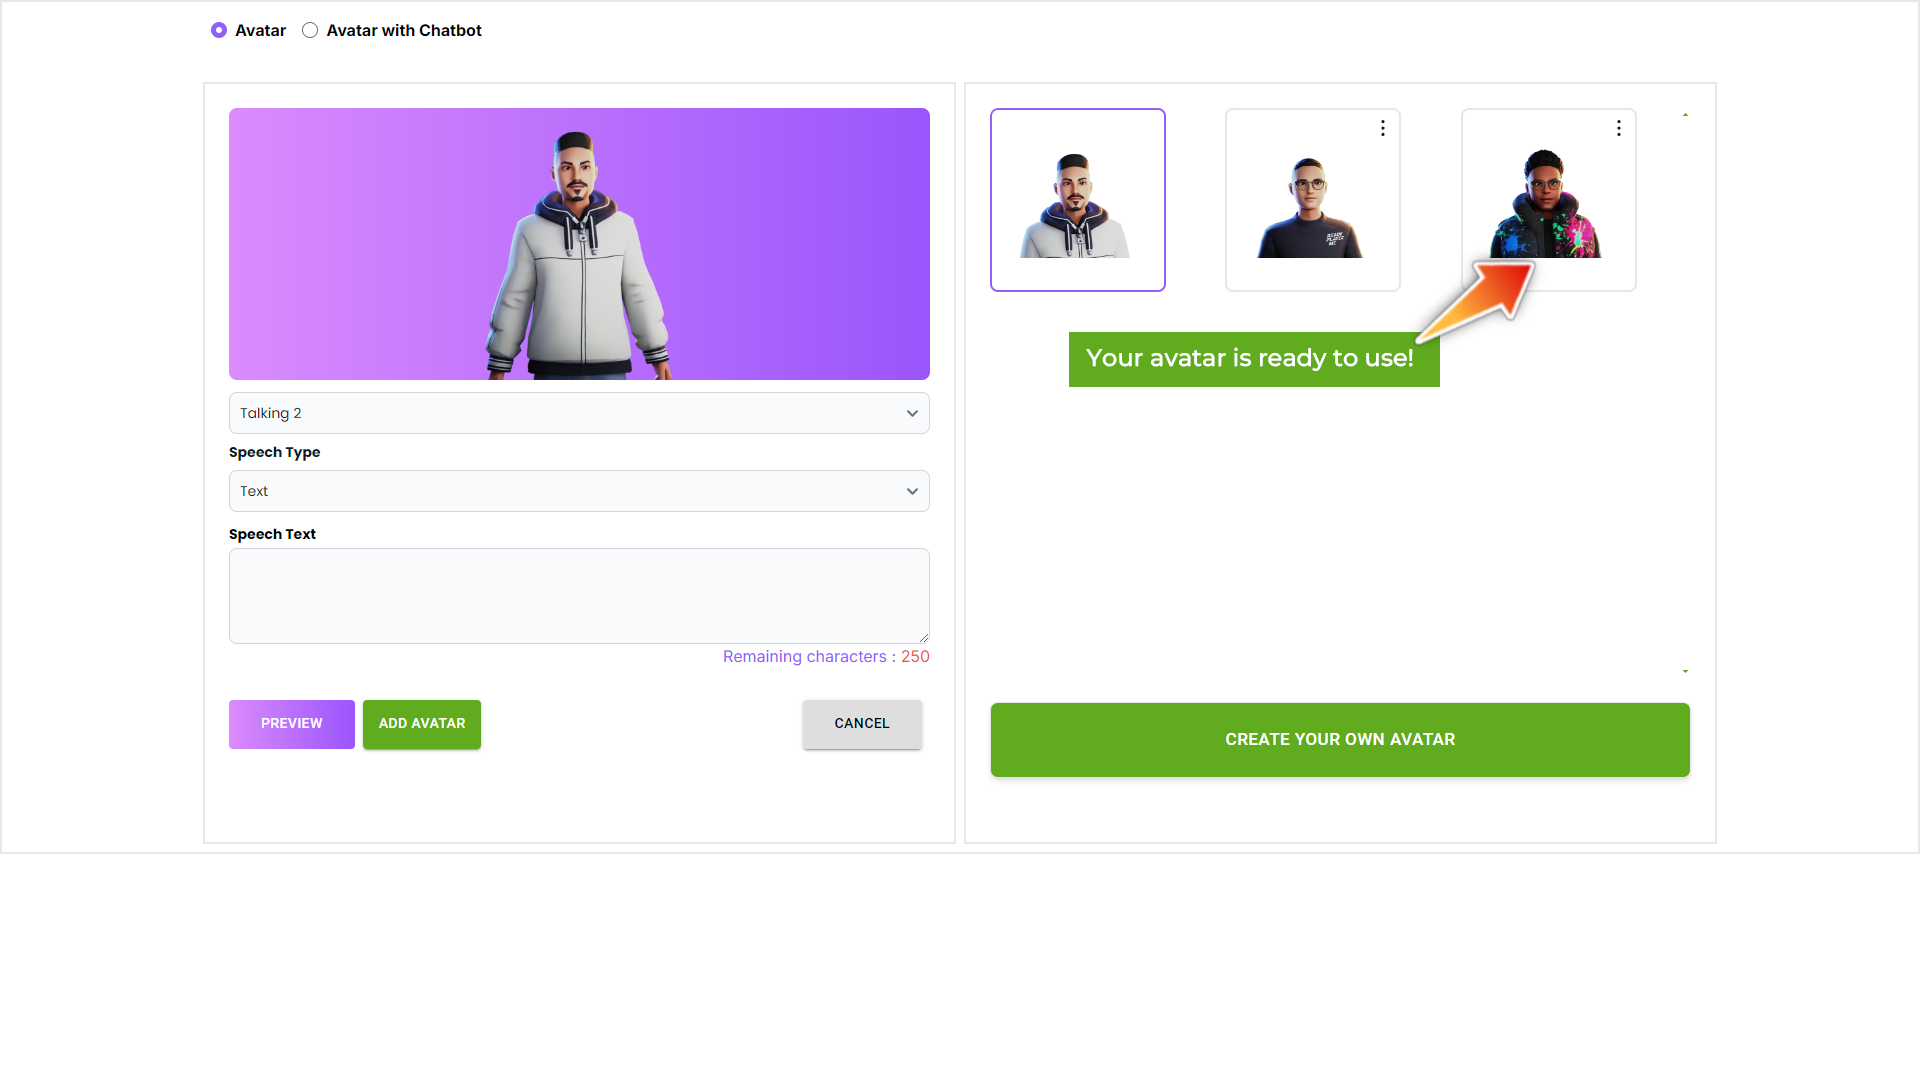
- Avatar is Ready: Your customized avatar is now published and ready to be used in your virtual tour.
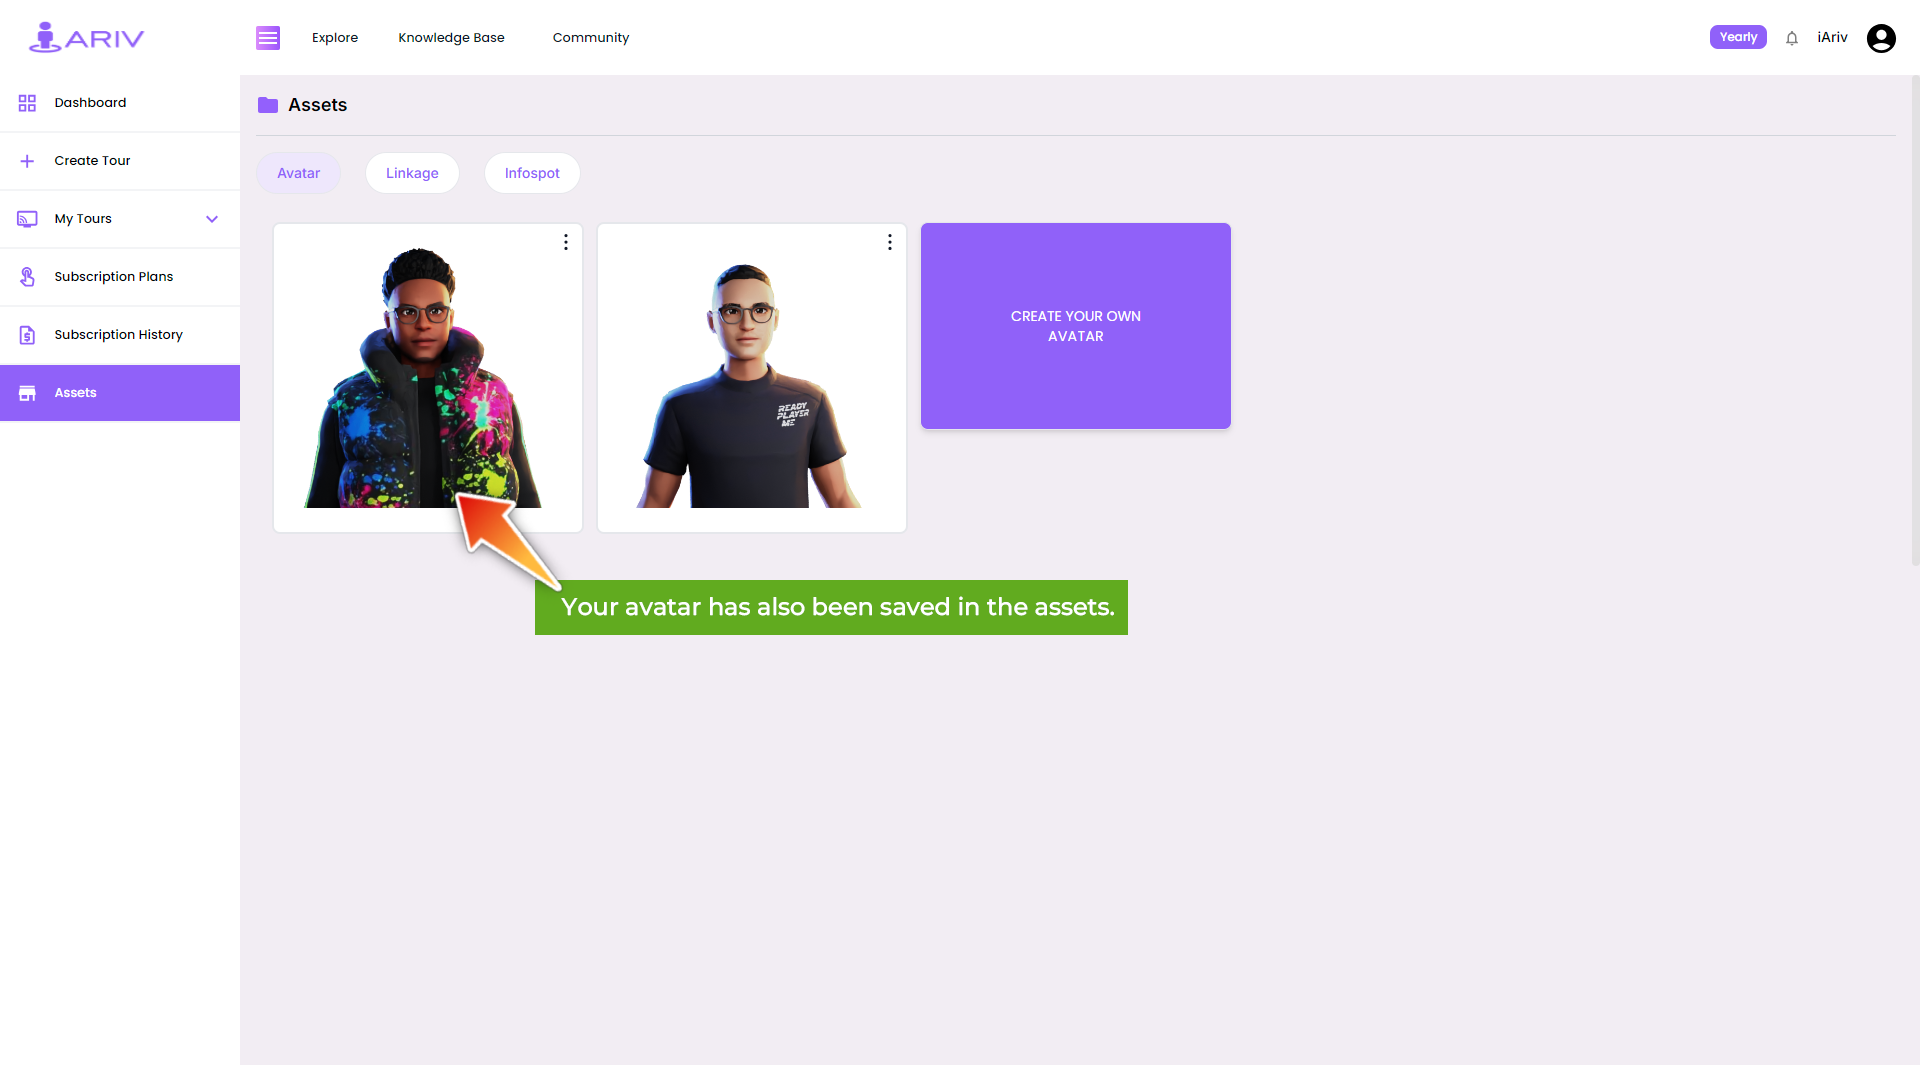
NOTE: If you came from the “Asset page”, then your customized Avatar will appear in the Asset section but if you came through the “Tour editor panel”, then customized Avatar will appear in the Avatar page.
By following these steps, you can create a unique and engaging avatar for your virtual tour, enhancing the overall experience for your audience. If you have any questions or require further assistance, please contact our support team.
