Step-by-Step Guide for Creating a 360 Tour on Iariv
Creating a 360 Tour is a straightforward process that allows you to present an immersive experience to your audience. Follow these steps to create your tour:
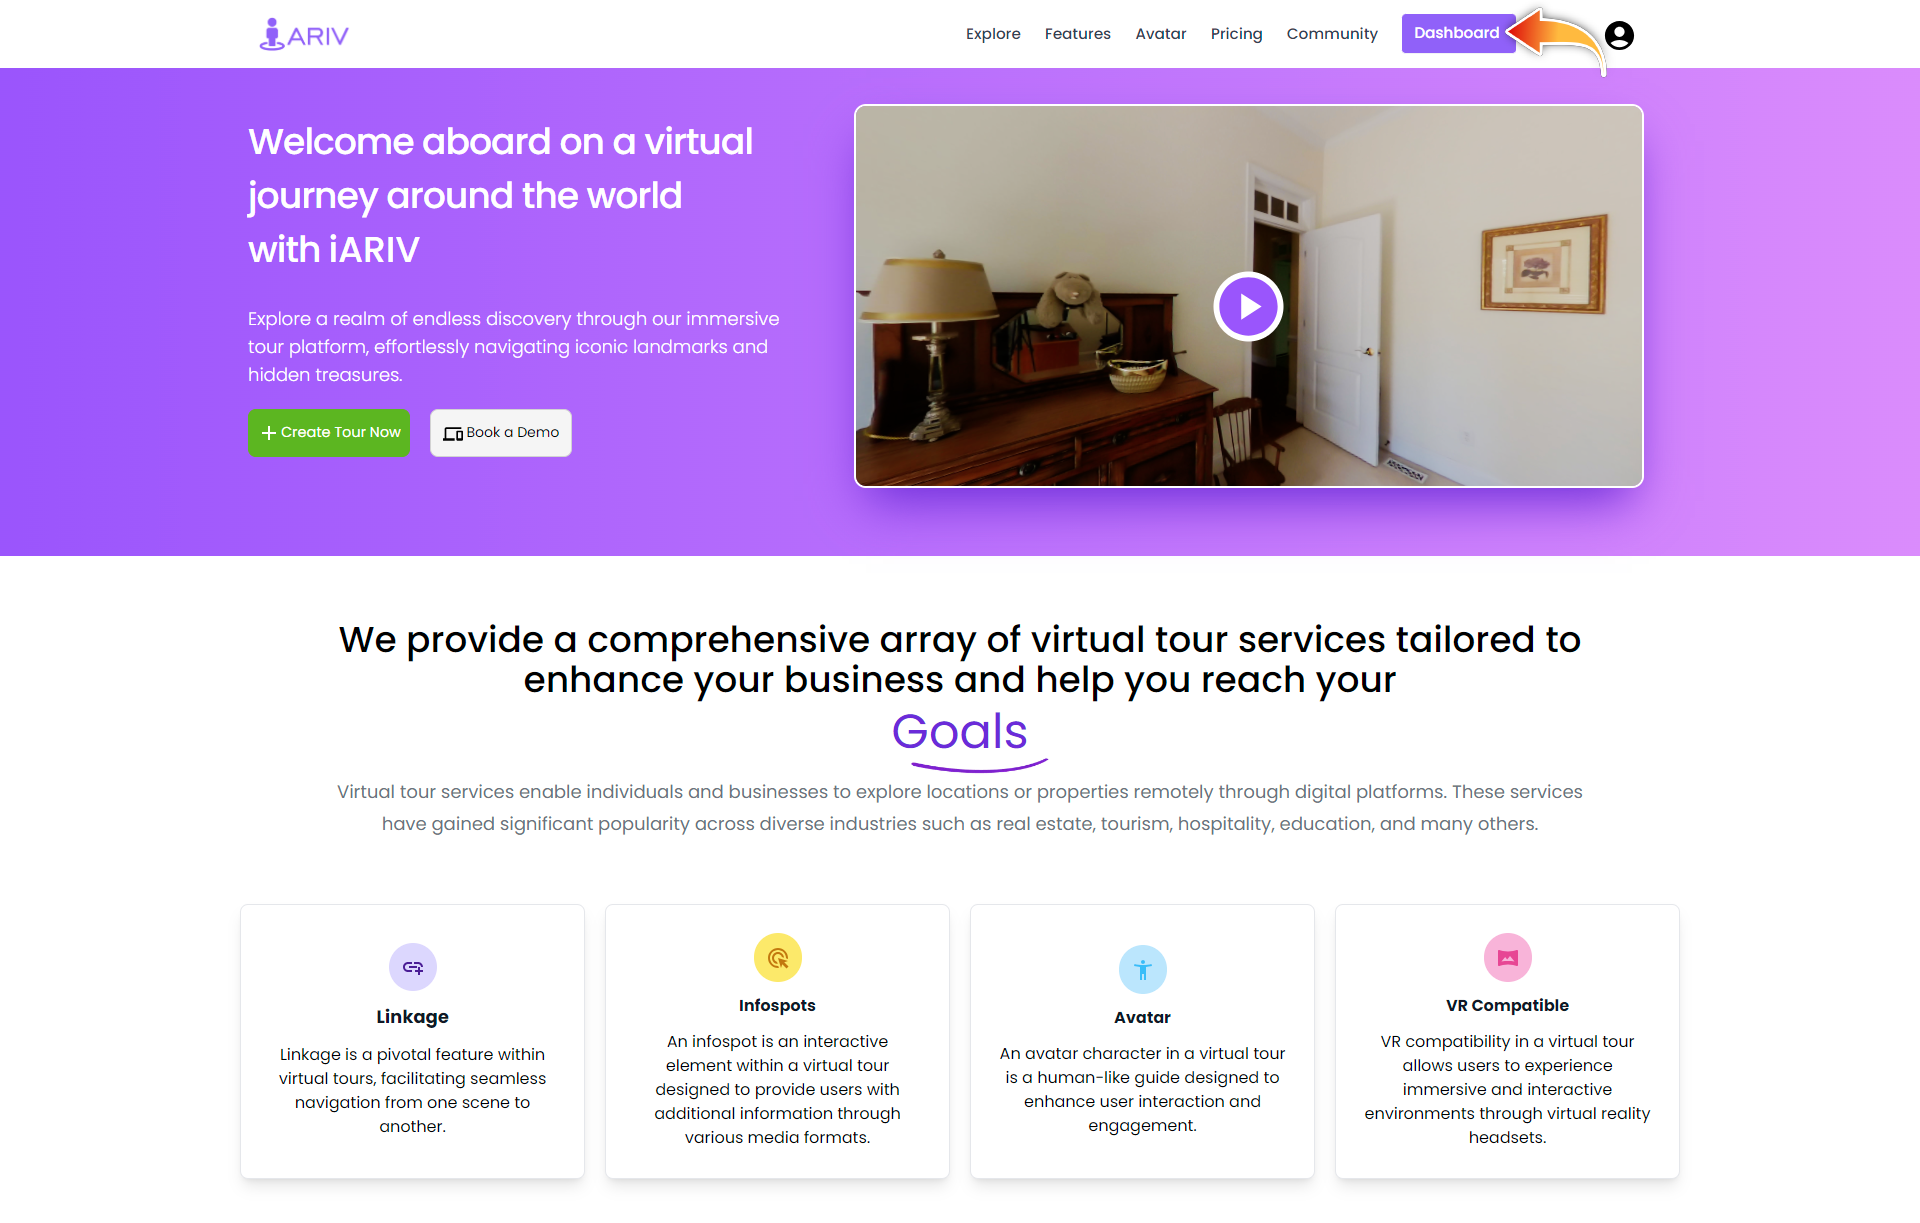
Step 1: Log in to Your Account
Please take ref. from this blog: How to Login into your iariv account?
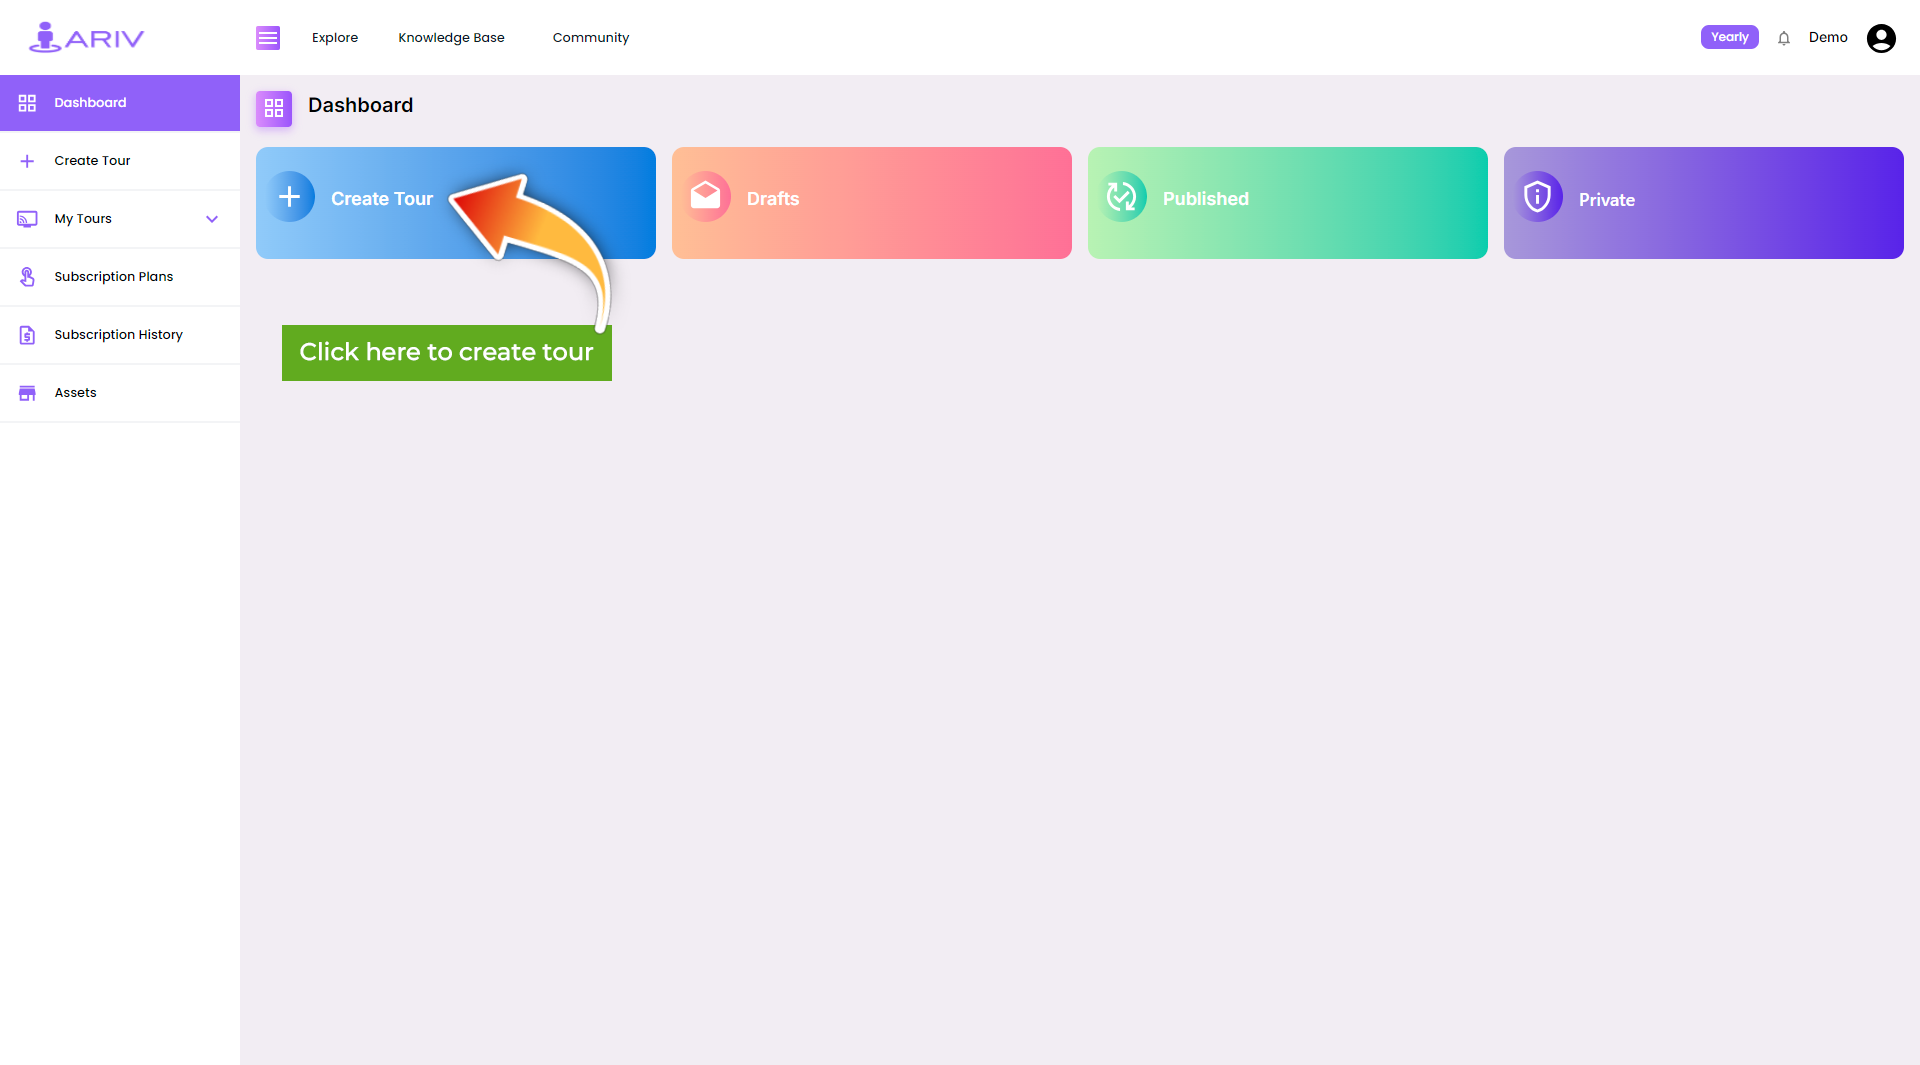
Step 2: Navigate to the Dashboard
- After logging in, click the Dashboard button on the home page.
Step 2: Navigate to the Create Tour Page
- Action: Go to the left menu.
- Instructions: Click on “Create Tour” under the “Dashboard” section.
- Outcome: This will open the Create Tour page.
Step 3: Enter Tour Details
- Action: Fill in the required information for your tour.
- Instructions:
- Tour Name: Enter the name of your 360 Tour.
- Tour Description: Provide a description for your tour.
- Tour Category: Select a category from the dropdown menu to classify your tour.
- Scene: Upload a tour image. You need to attach at least 1 image or you can attach upto 5 images.
- Tour Location: Choose the location of your tour on Google Maps for precise geographical tagging.
- Thumbnail: Upload a thumbnail image that will serve as the profile photo for your tour.
- Outcome: Your tour details will be saved and ready for the next step.
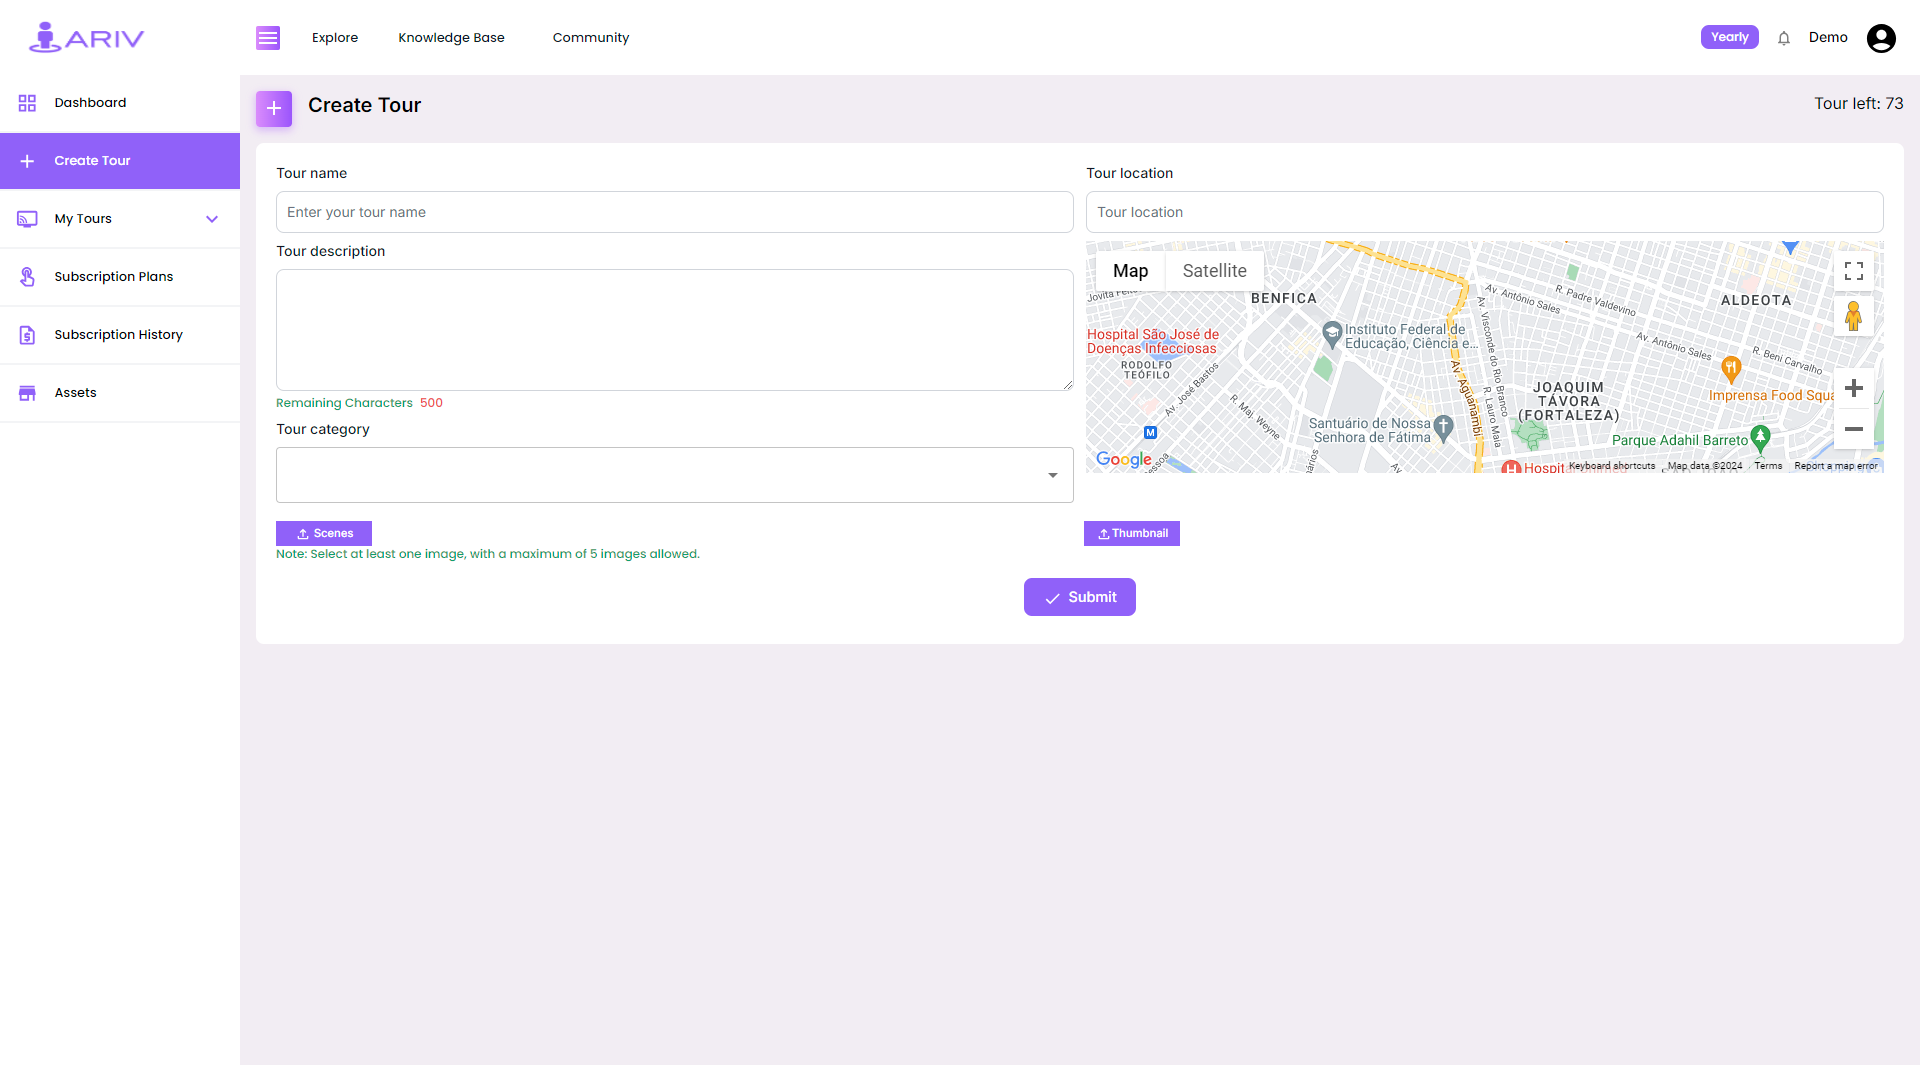
Step 4: Submit Your Tour
- Action: Finalize and save your tour.
- Instructions: Click on the “Submit” button.
- Outcome: Your tour will be saved and categorized based on its status.
Step 5: View Your Tours
- Action: Check the status of your tour.
- Instructions:
- Drafts: View tours that are saved as drafts and not yet published.
- Published: View tours that are live and available to the public.
- Private: View tours that are set to private, visible only to you.
- Outcome: Your tour will appear in the appropriate section based on its current status.
Summary of Creating a 360 Tour
- Visibility: Once submitted, your tour can be viewed from anywhere around the world by your audience.
- Editing: You can edit your tour details anytime by accessing it from the Dashboard Page.
Note: By following these steps, you can easily create a 360 Tour and manage its visibility. If you have any questions or encounter issues, please contact our support team for assistance.