Step-by-Step Guide to Arranging Scenes of a Virtual Tour
Arranging scenes in your Virtual Tour allows you to control the flow and presentation of your tour content. Follow these steps to arrange scenes on iAriv:
Step 1: Access the Edit Tour Screen
- Action: Open the tour you want to edit.
- Instructions: Navigate to the Edit Tour Screen in iAriv.

Step 2: Locate the Scenes Button
- Action: Find the Scenes button.
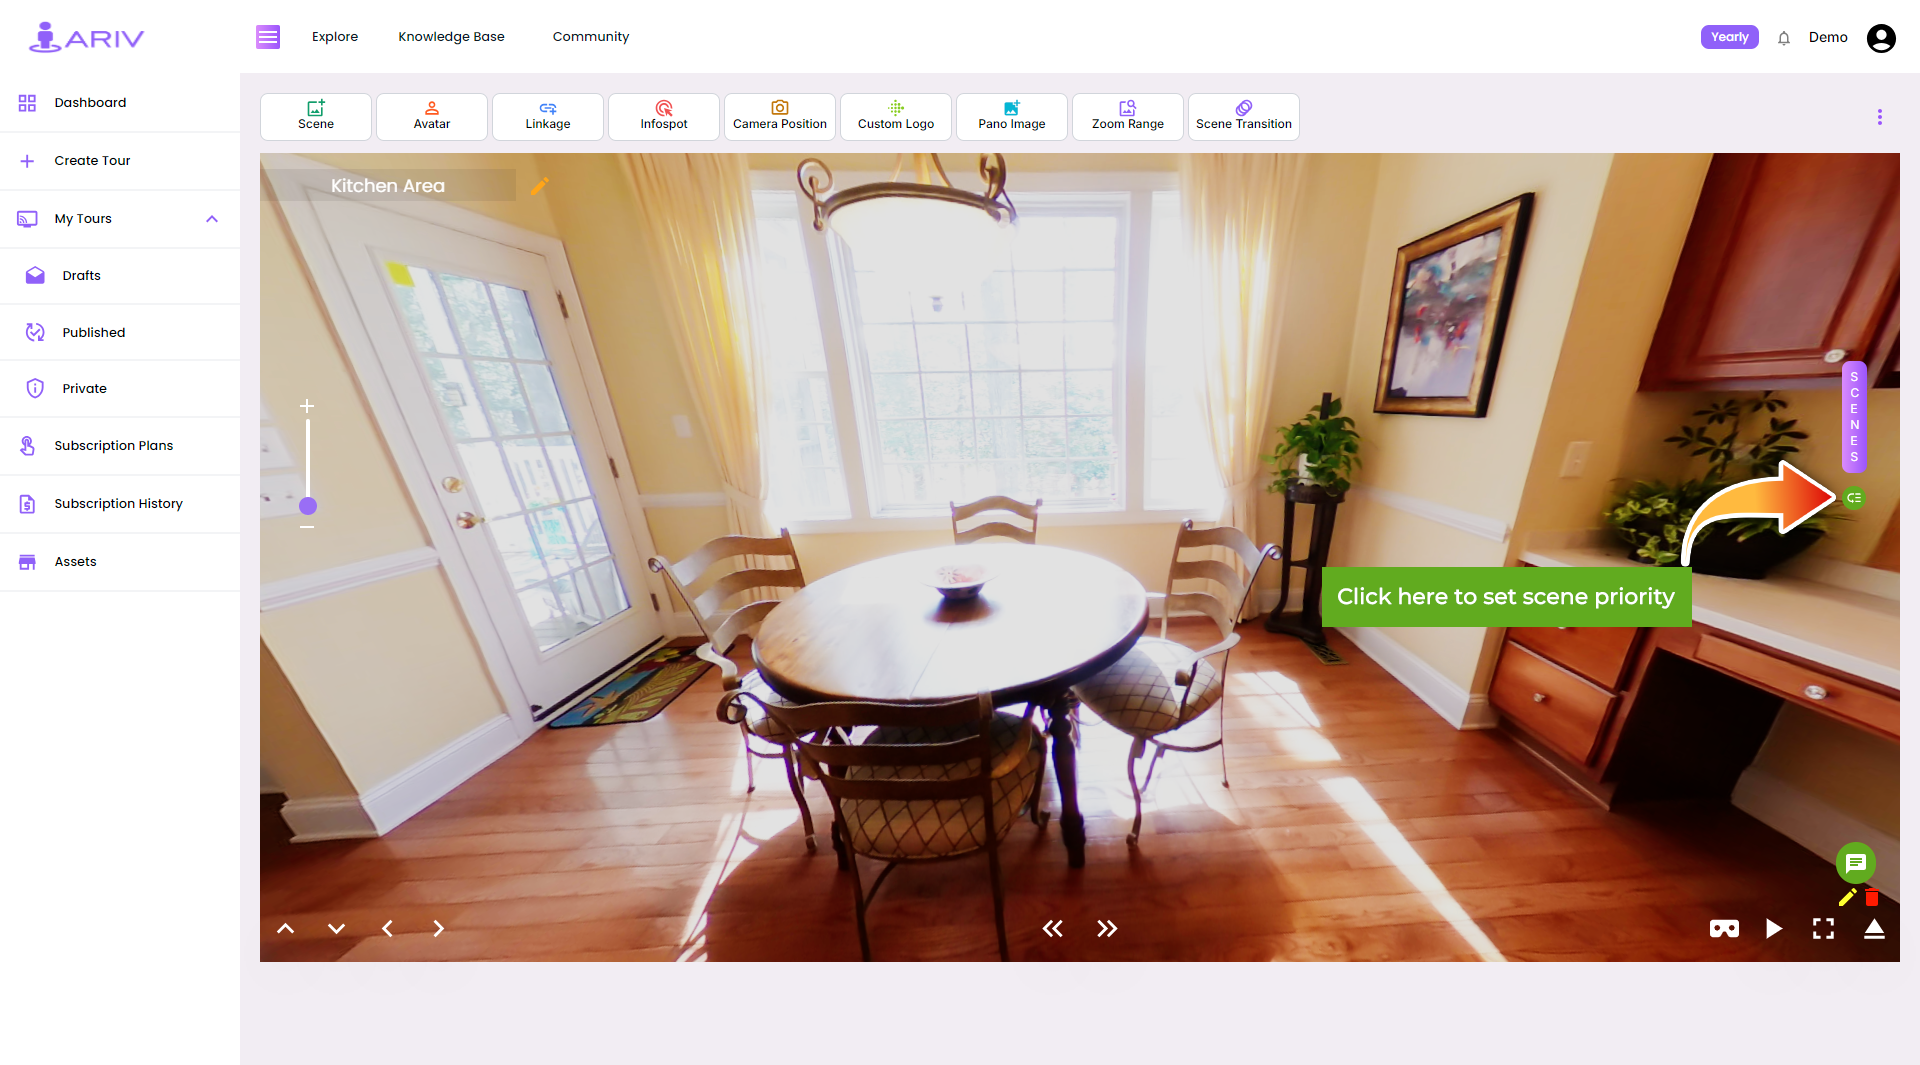
- Instructions: Look for the Scenes button located in the middle right side of the Edit Tour Screen.
Step 3: View Thumbnails of Scenes
- Action: See all added scenes.
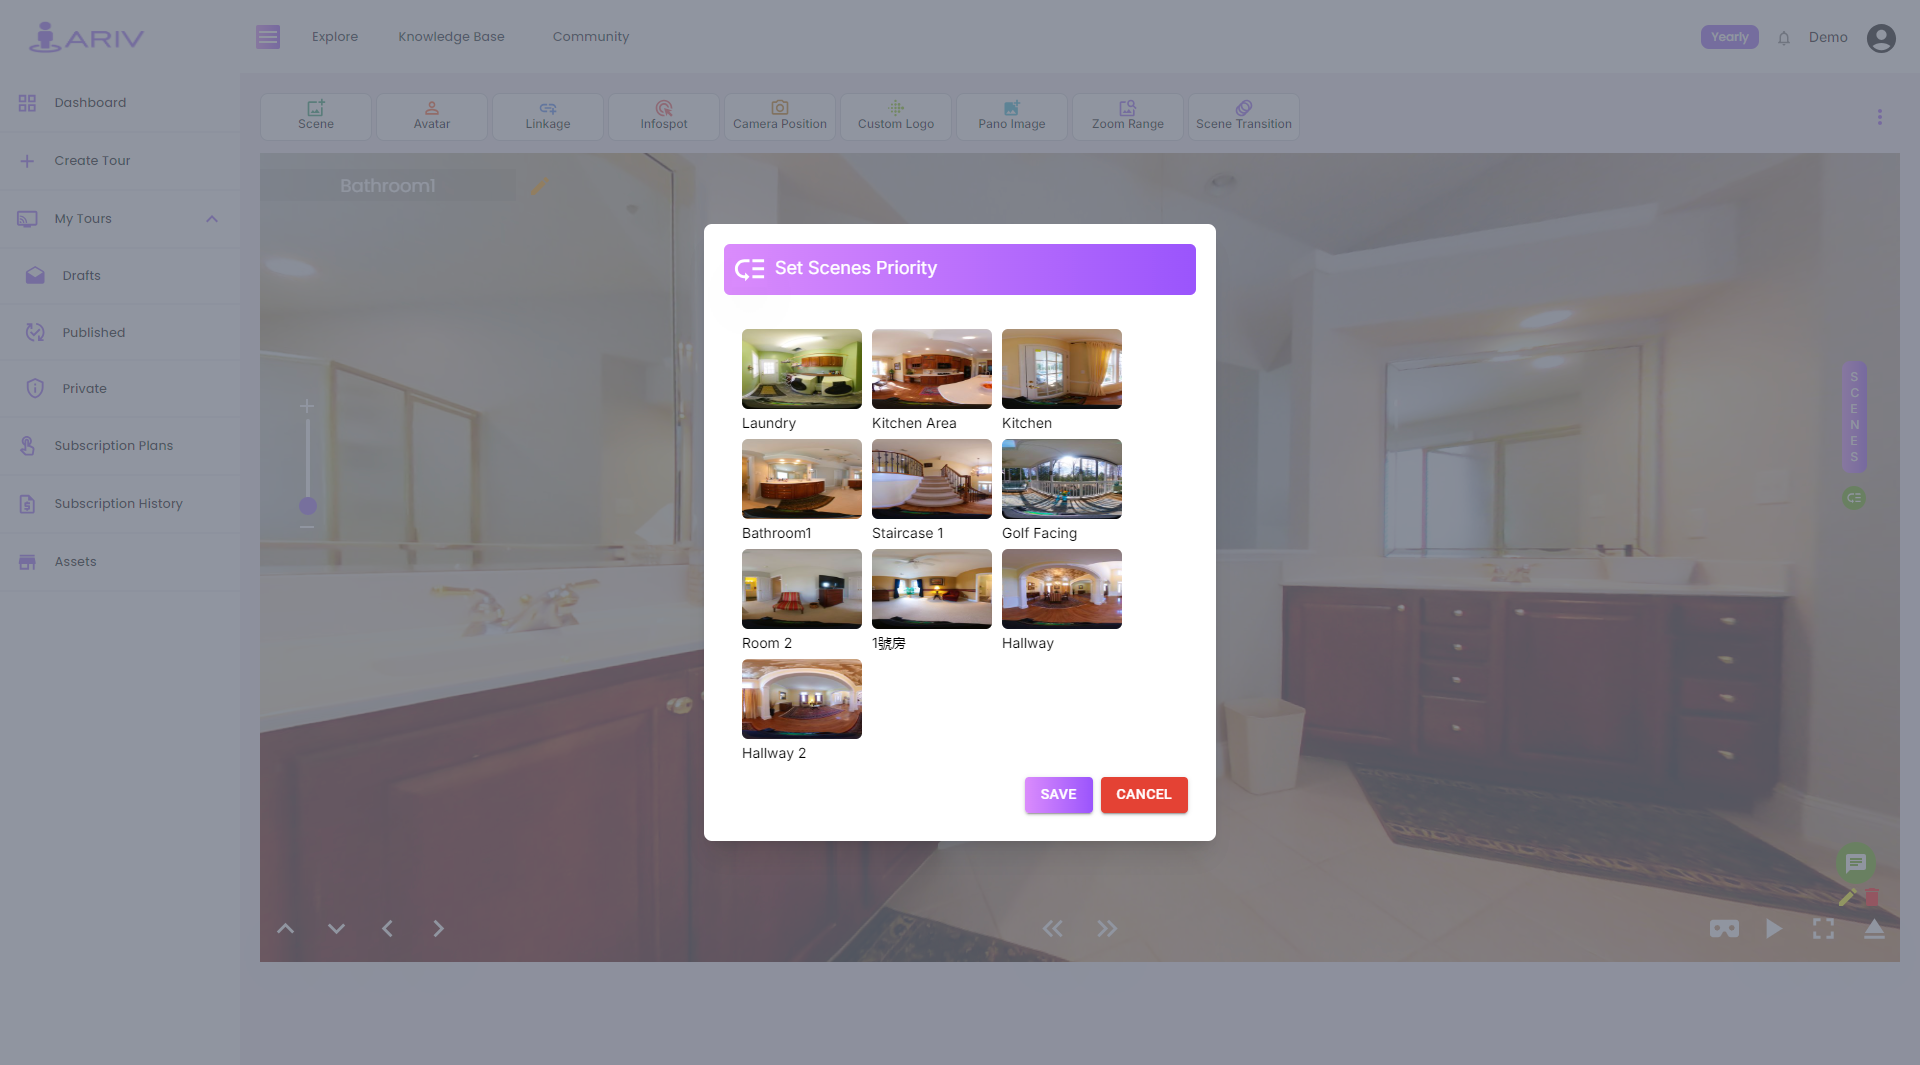
- Instructions: Once multiple scenes are added, they will appear in a slider format with thumbnails representing each scene.
Step 4: Arrange Scenes
- Action: Rearrange scenes as desired.
- Instructions: To arrange scenes in a specific order, click and drag each scene’s thumbnail to the desired position on the slider.
- Outcome: Scenes can be moved and placed in any sequence according to your preference.

Step 5: Finalize Arrangement
- Action: Confirm the order of scenes.
- Instructions: After arranging the scenes, ensure they are in the desired sequence.
- Outcome: Once satisfied, the scenes will be arranged accordingly and displayed in the set order.
By following these steps, you can effectively arrange scenes within your Virtual Tour on iAriv, ensuring a structured and engaging presentation for viewers. If you have any questions or need further assistance, please refer to iAriv’s support resources or contact their customer service team.
