Step-by-Step Guide for Adding an Avatar to a 360 Tour on iAriv
- Navigate to the Add Avatar Feature
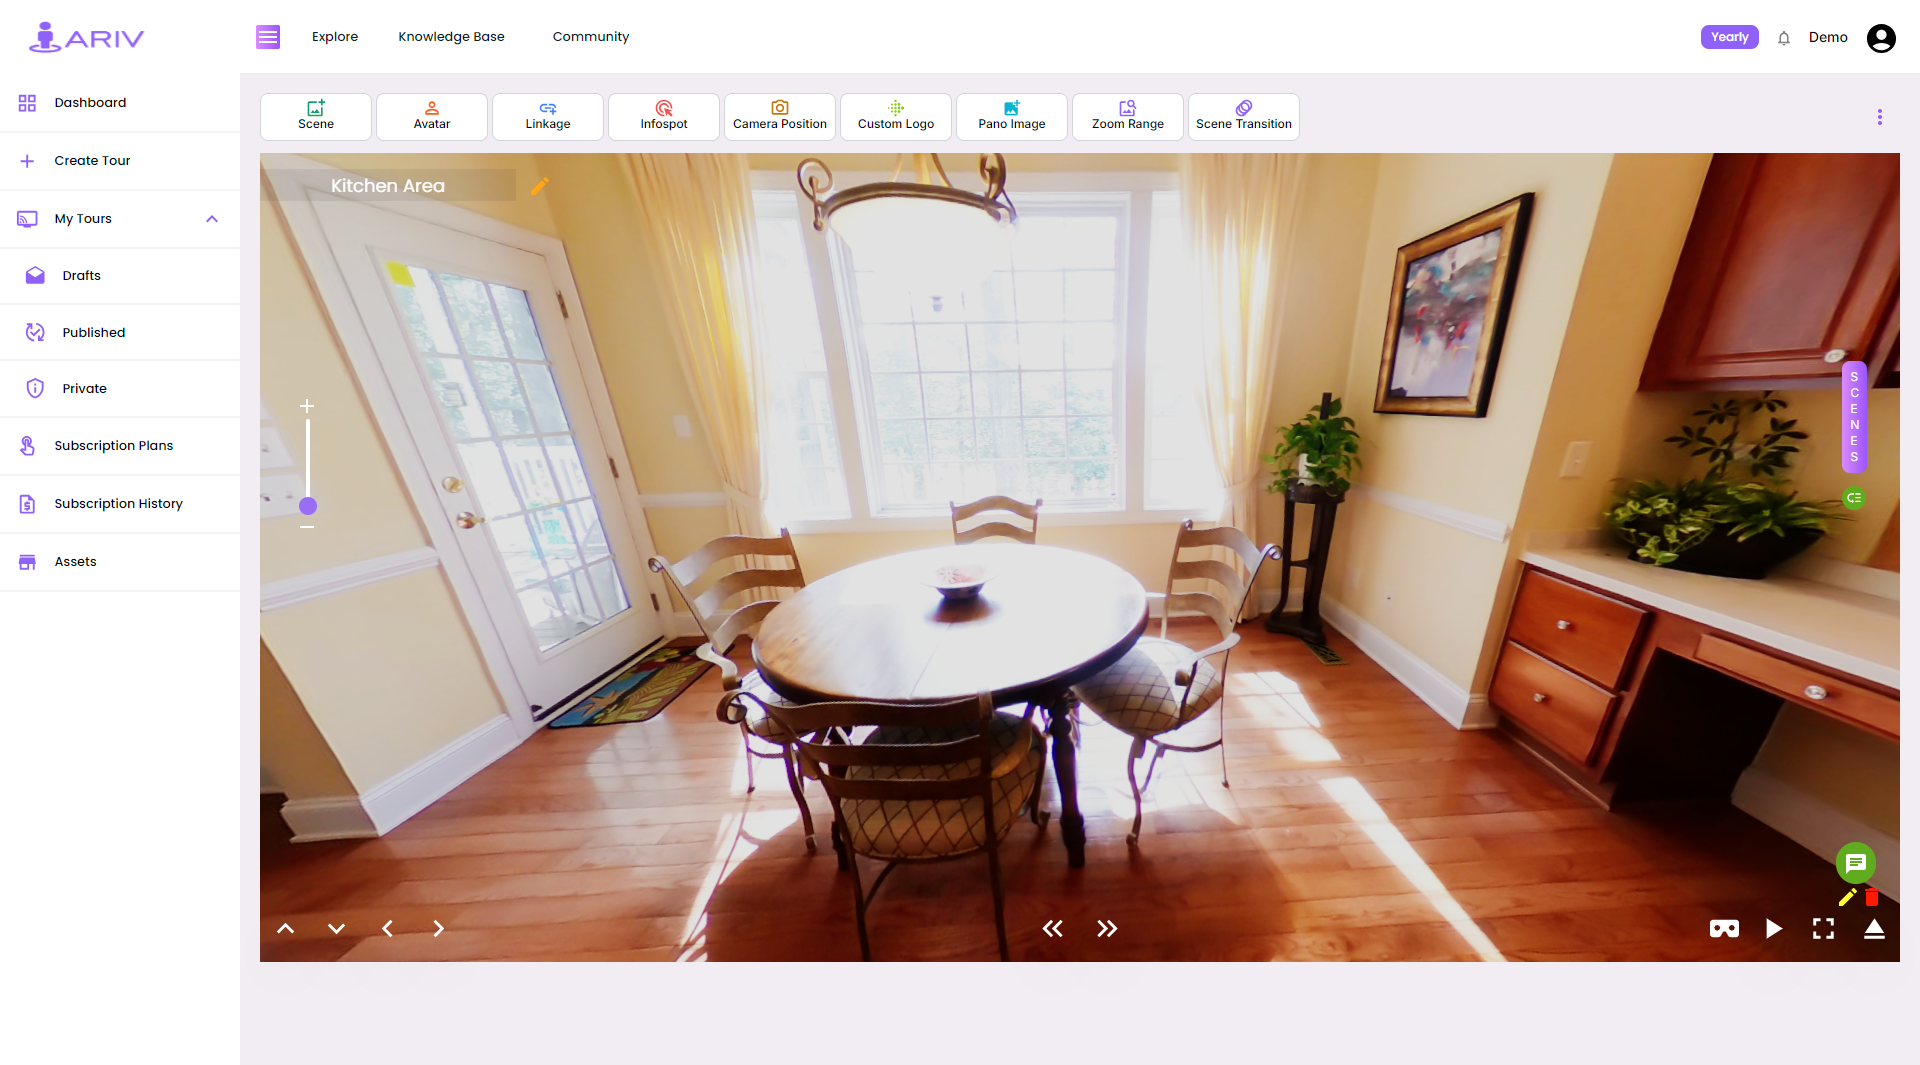
- Click on the “Add Avatar” button in the top bar above the scene in Edit View. This will redirect you to the Add Avatar dialog box.
- Choose Your Avatar
- On the Add Avatar dialog box, browse through the available avatars.
- Click on the Avatar thumbnail to select the avatar.
- Select Avatar Speech
- Upload Audio File: If you have a pre-recorded audio file, upload it by selecting the appropriate option.
- Manual Speech Input: If you prefer, type your speech manually. The avatar will convert the text to speech.
- Finalize and Add Avatar
- After selecting your avatar and configuring the speech, click the “Add Avatar” button.
- The selected avatar will be added to your 360 Tour scenes and will appear in the scene.
- Manage Avatar Speech
- The 360 Tour includes options to mute or unmute the avatar’s speech, allowing you to control the audio output as needed.
Avatar Preview
Avatar in Tour Editor
![]()
By following these steps, you can seamlessly integrate an avatar into your 360 Tour on iAriv, enhancing the immersive experience for your viewers.